Basic GA4 Tag Manager Setup
This guide will walk you through setting up a Tag Manager container for use with GA4. This is the most basic setup to familiarize yourself with Tag Manager, as it doesn’t cover Ecommerce setup or UserID because both of those do require you to add Javascript code to your site.
Prerequisites
This guide assumes you have already created a Tag Manager account and Container and know the basics of Tag Manager. If not, follow the guides below first.
This guide also assumes you know how to open up a GA4 account and have already set it up and have the Measurement ID.
Creating the Google Analytics 4 Configuration Tag
From the Container’s home screen, locate the side menu and click on Tags. It should bring you to the Tags list screen.
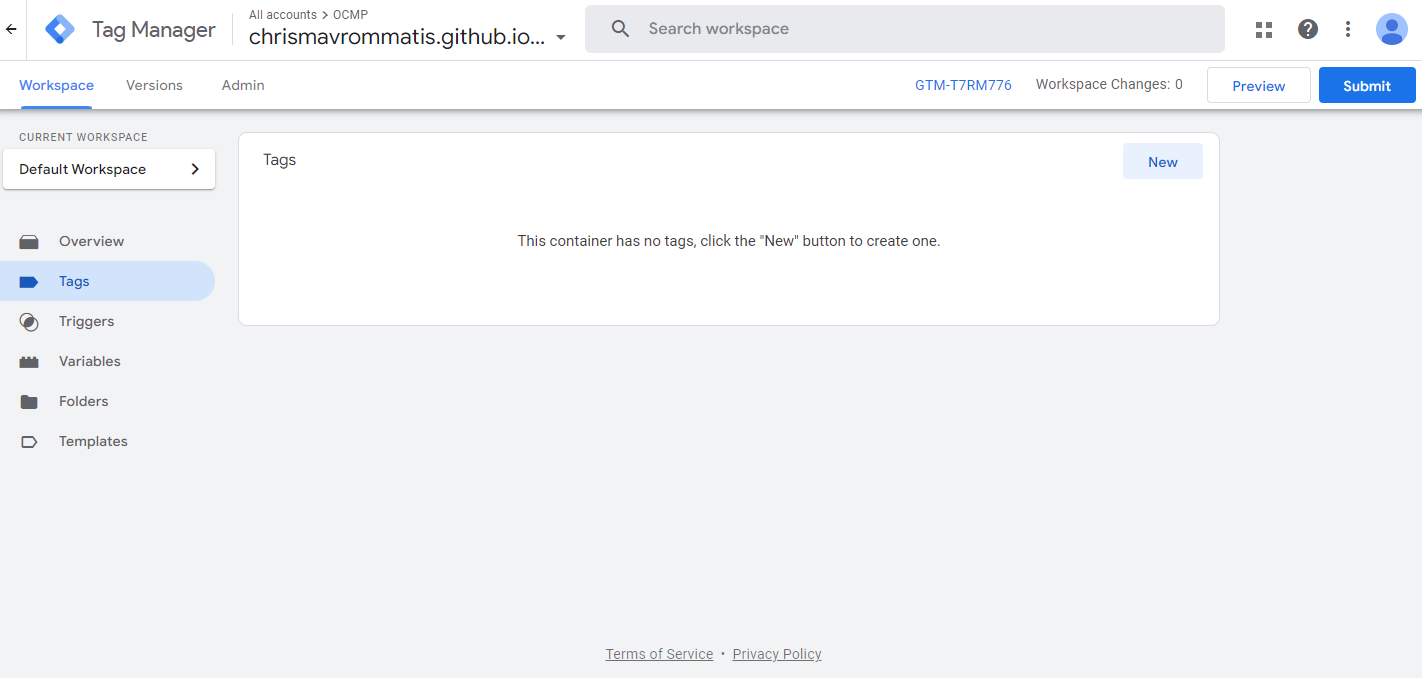
Then, on the upper right corner within the Tags whitespace, click New. A panel should appear.
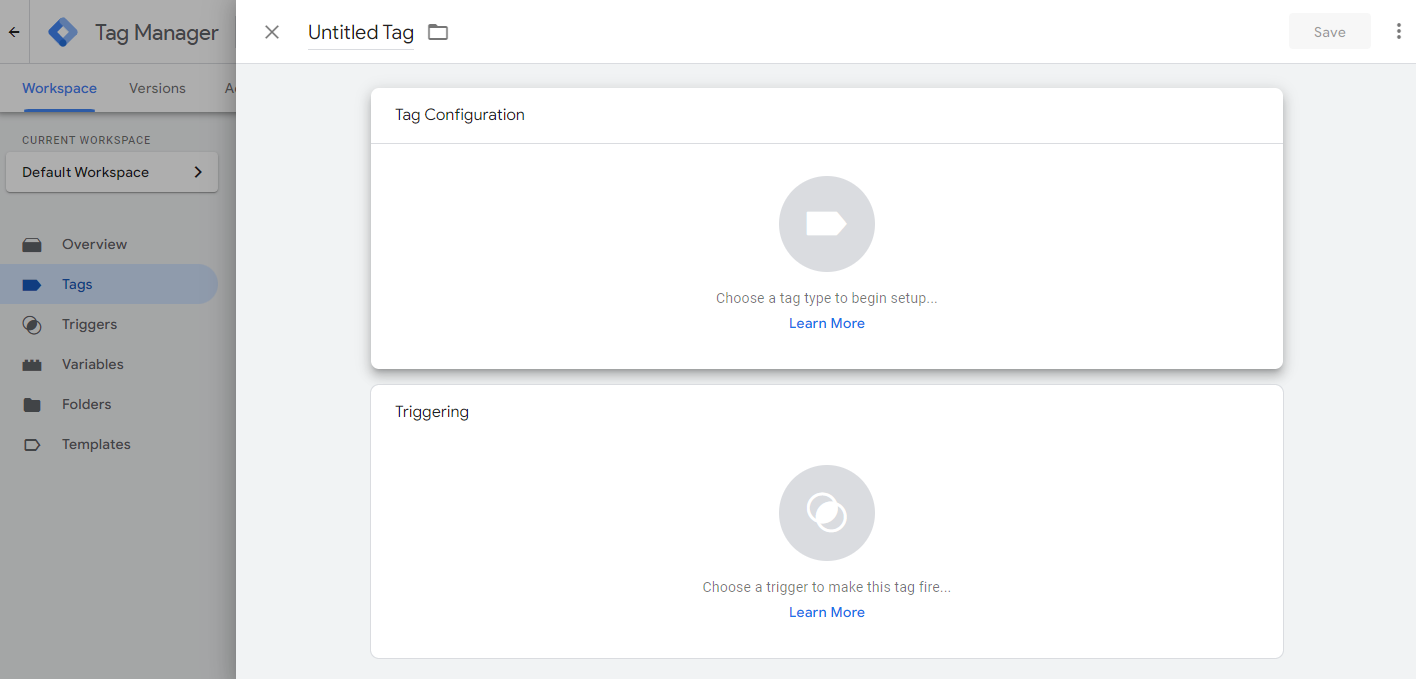
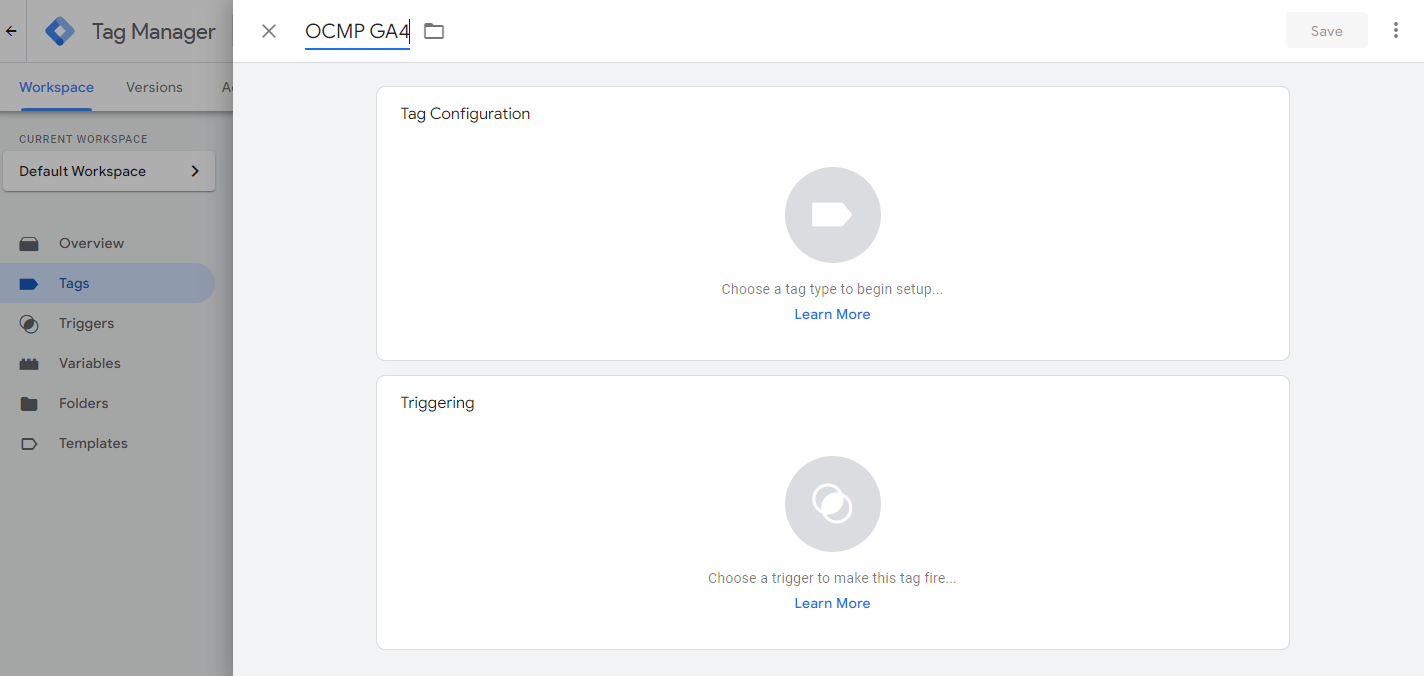
First, give your tag a descriptive name to easily distinguish it, such as GA4.
Then click on the grey circle or anywhere within the Tag Configuration whitespace, and another panel should pop up and prompt you to choose the Tag type.
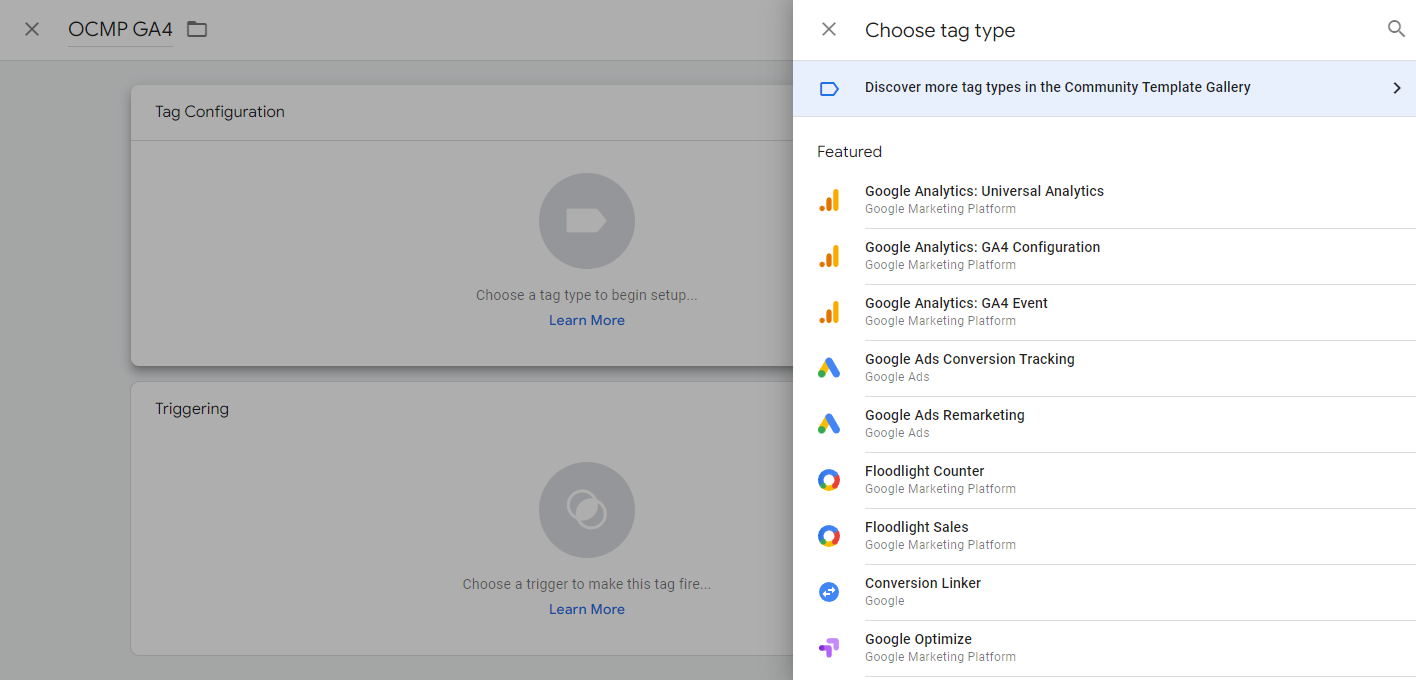
Click on Google Analytics: GA4 Configuration to select it. It should return you to the previous panel with the Tag type you selected.
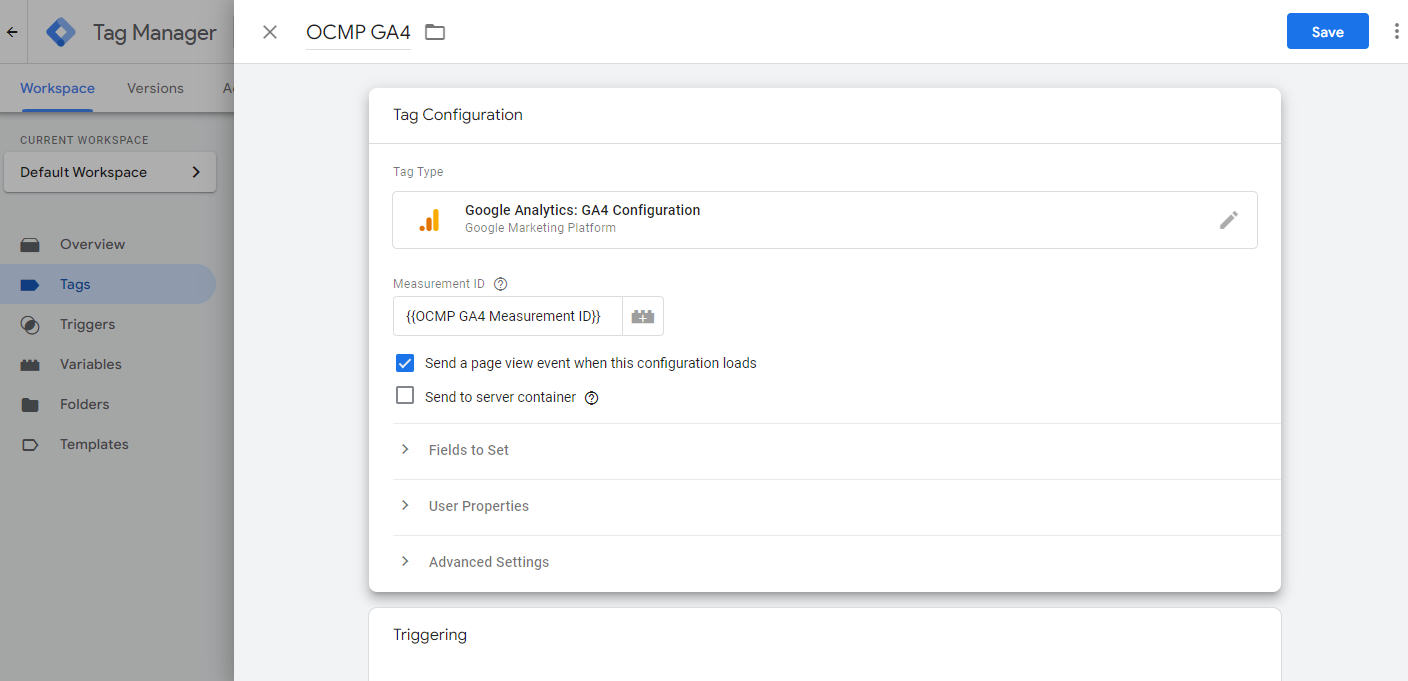
This is where we will configure our Tag. We need to put in the measurement ID we got when creating and setting up GA4.
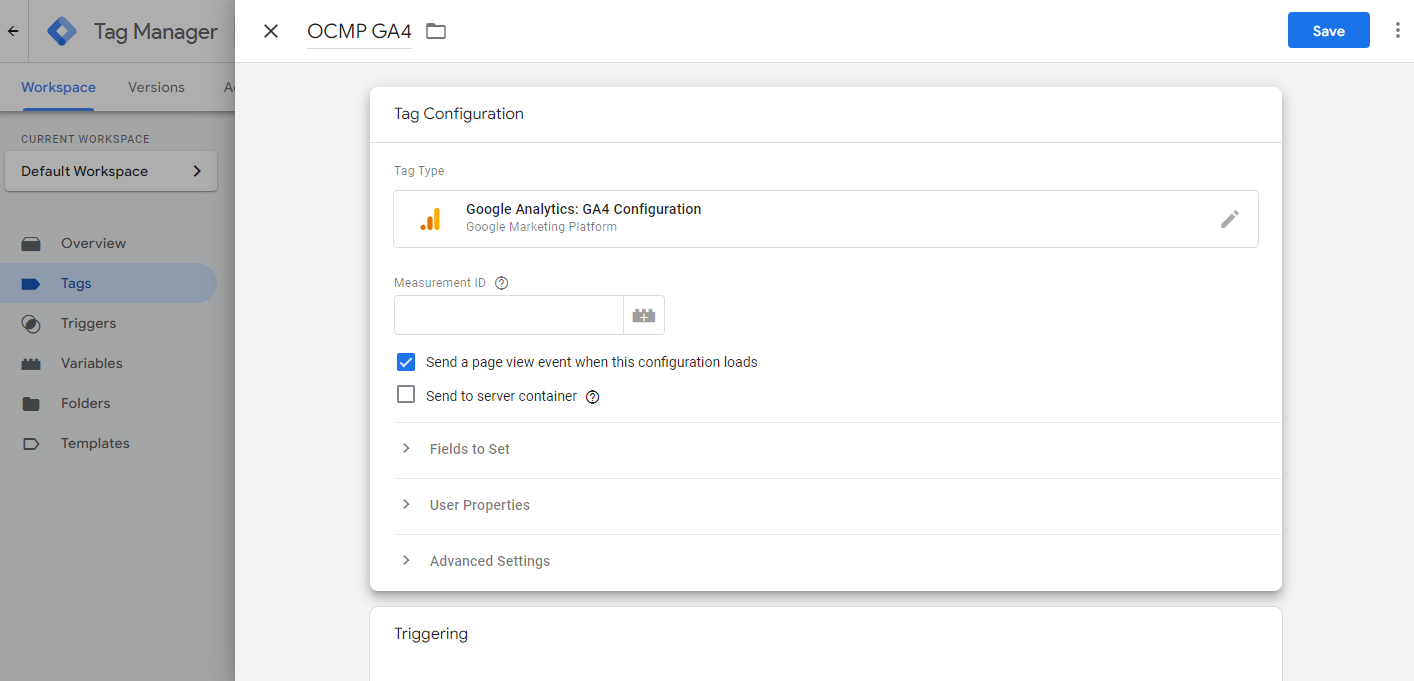
You can enter it here like it is, but it’s much preferable to have it in a variable instead.
Click on the toy brick-shaped icon with the plus sign and another panel should open up, allowing you to choose a variable.
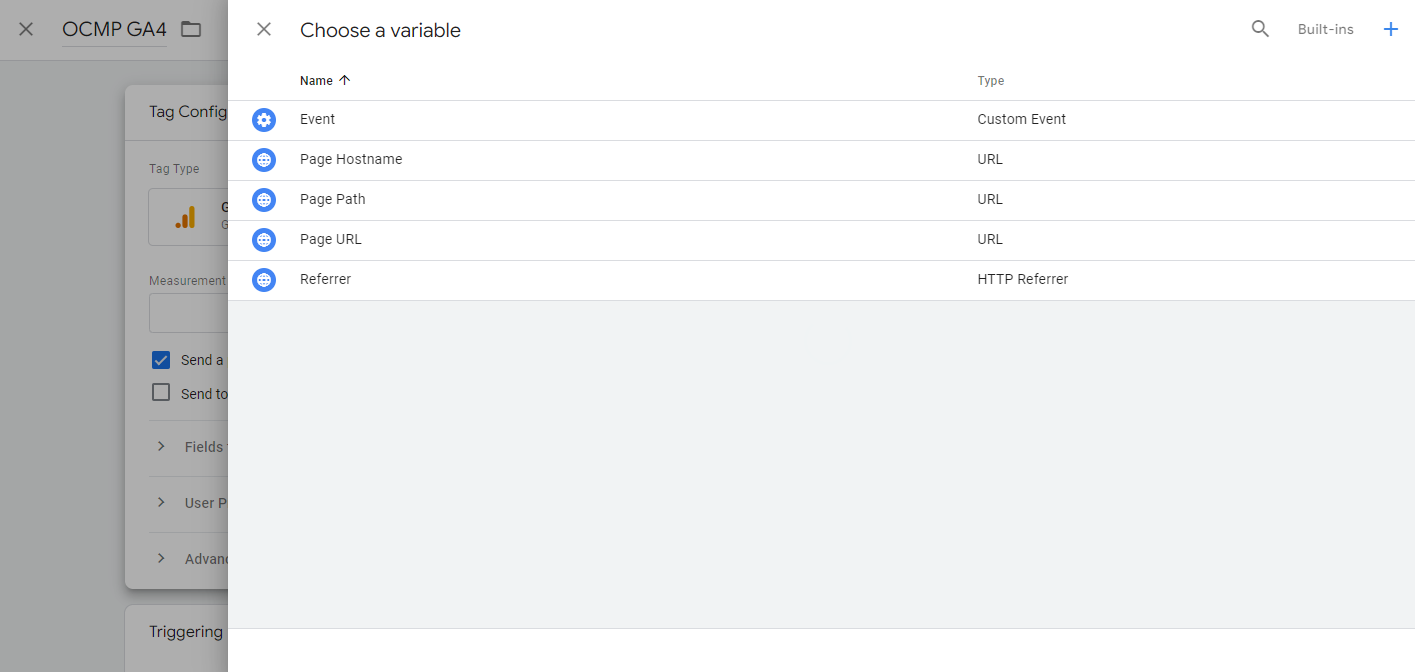
We don’t want to choose an existing variable but create, so hit the plus icon on the top right of the screen to create one. Another panel should appear.
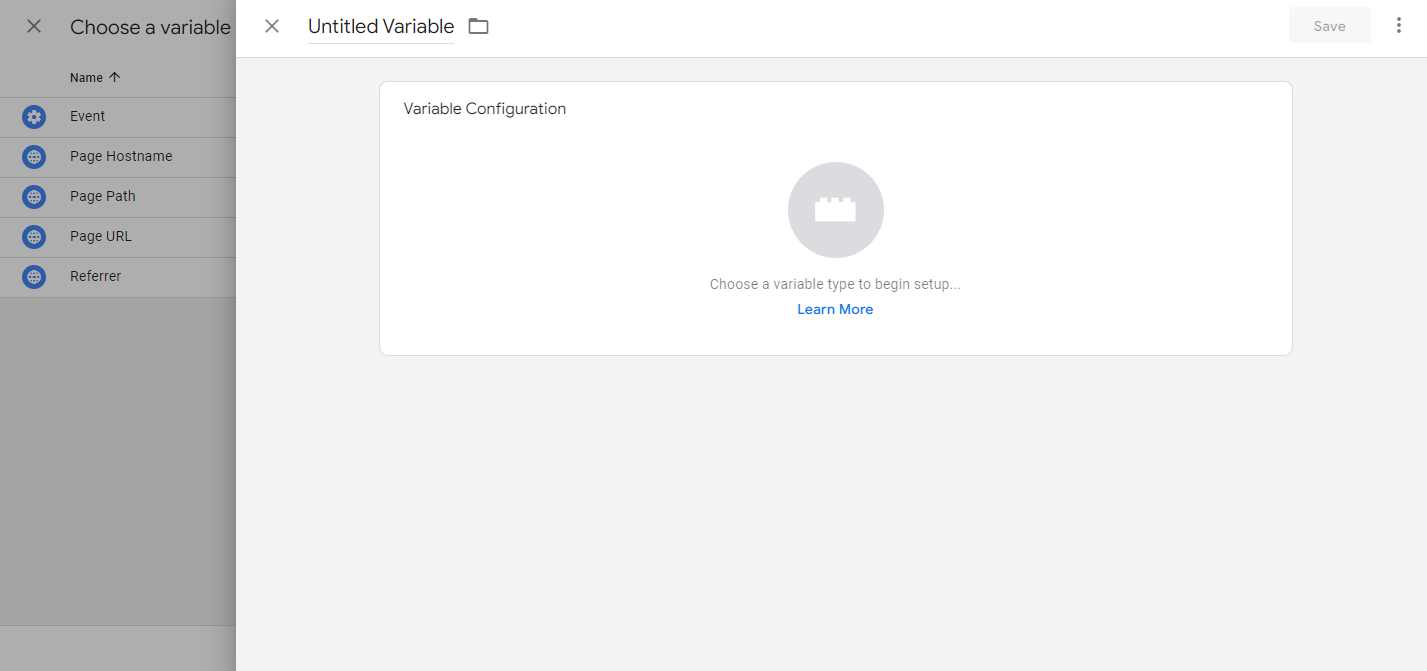
Give the variable a memorable name such as GA4 Measurement ID
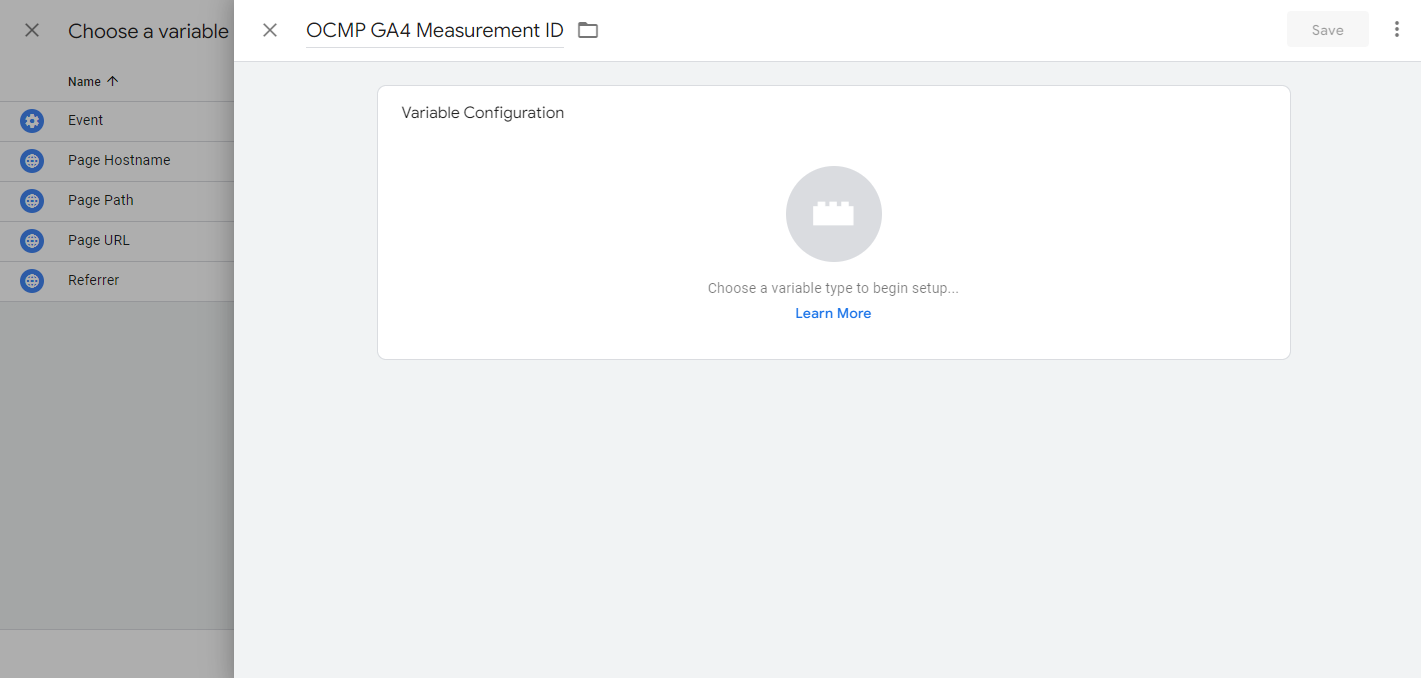
Then click on the Variable Configuration whitespace and another panel should show up.
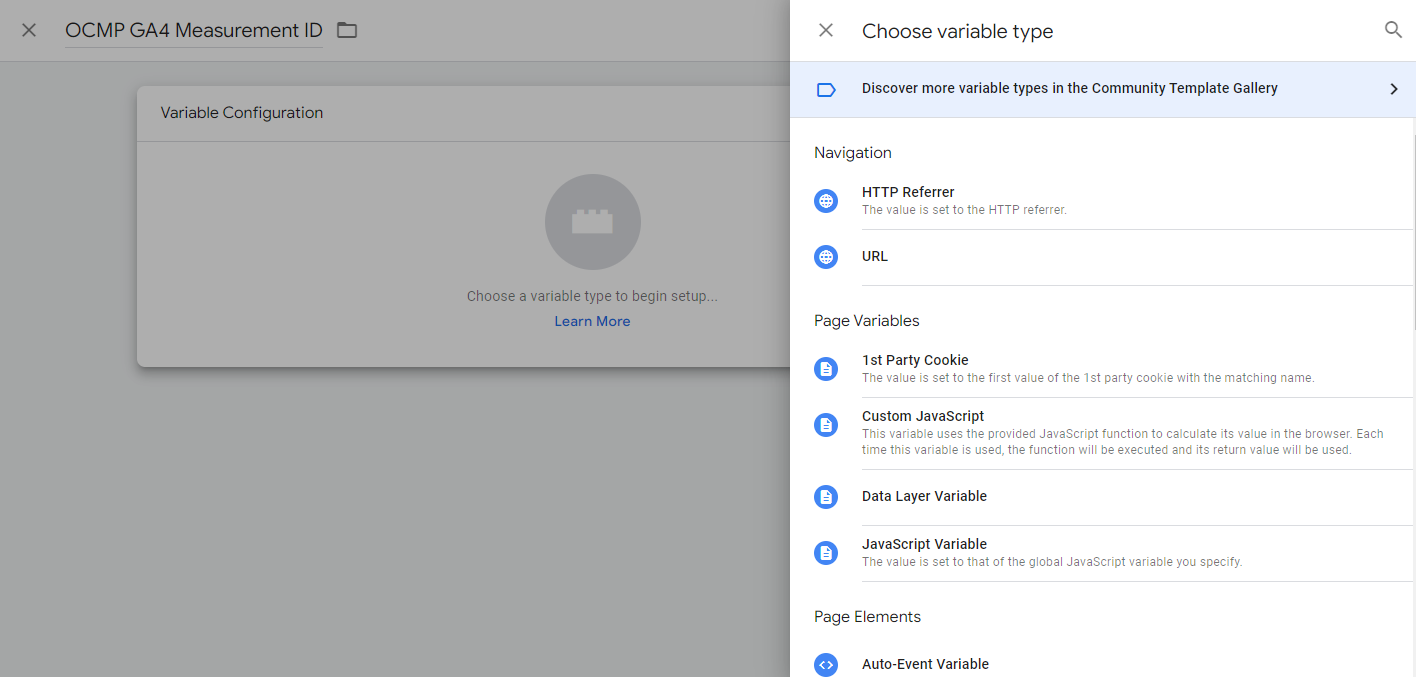
Scroll down until you find the Constant, which is under the Utilities.
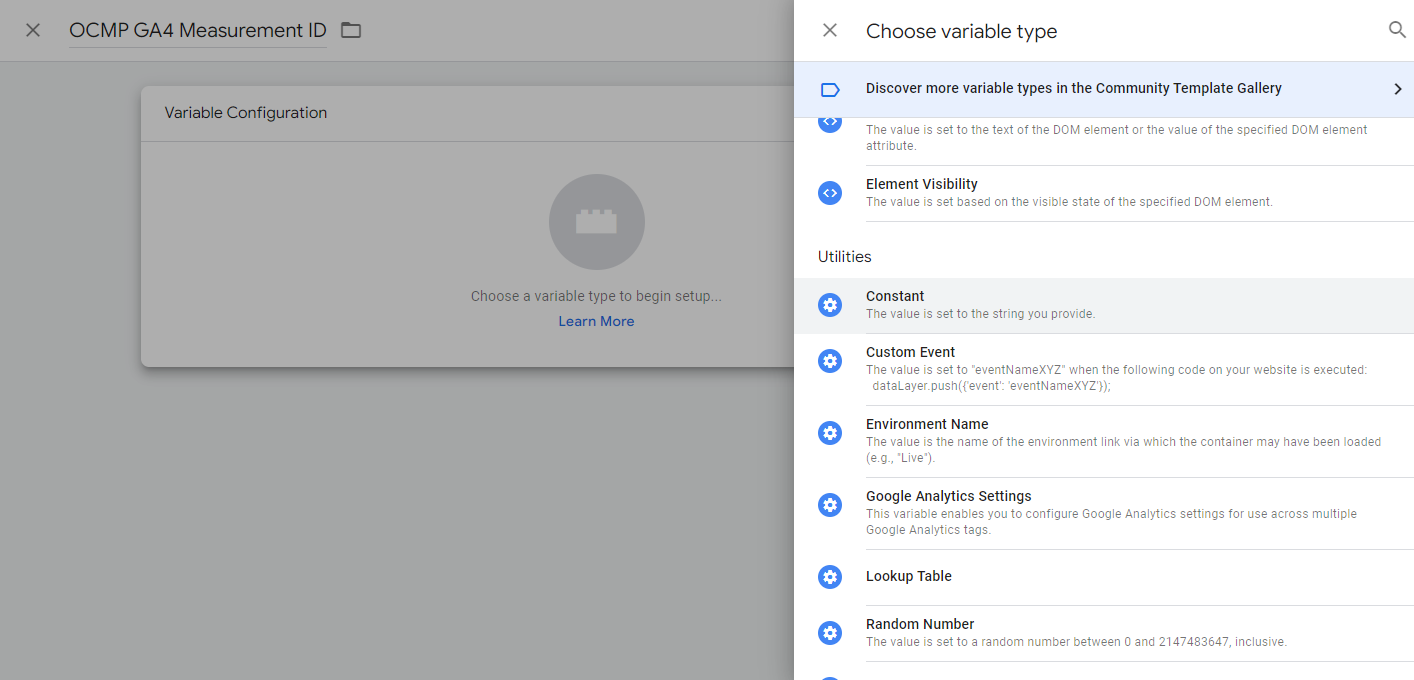
Click on it to select it.
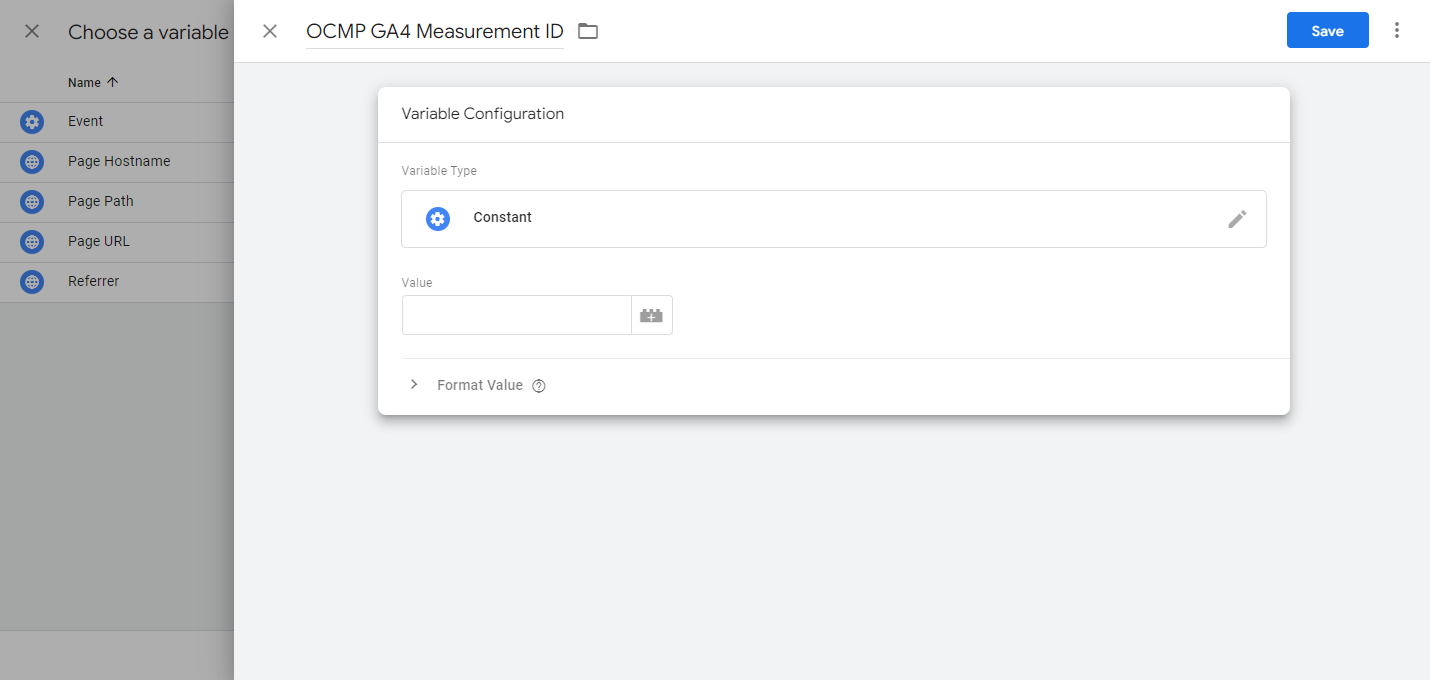
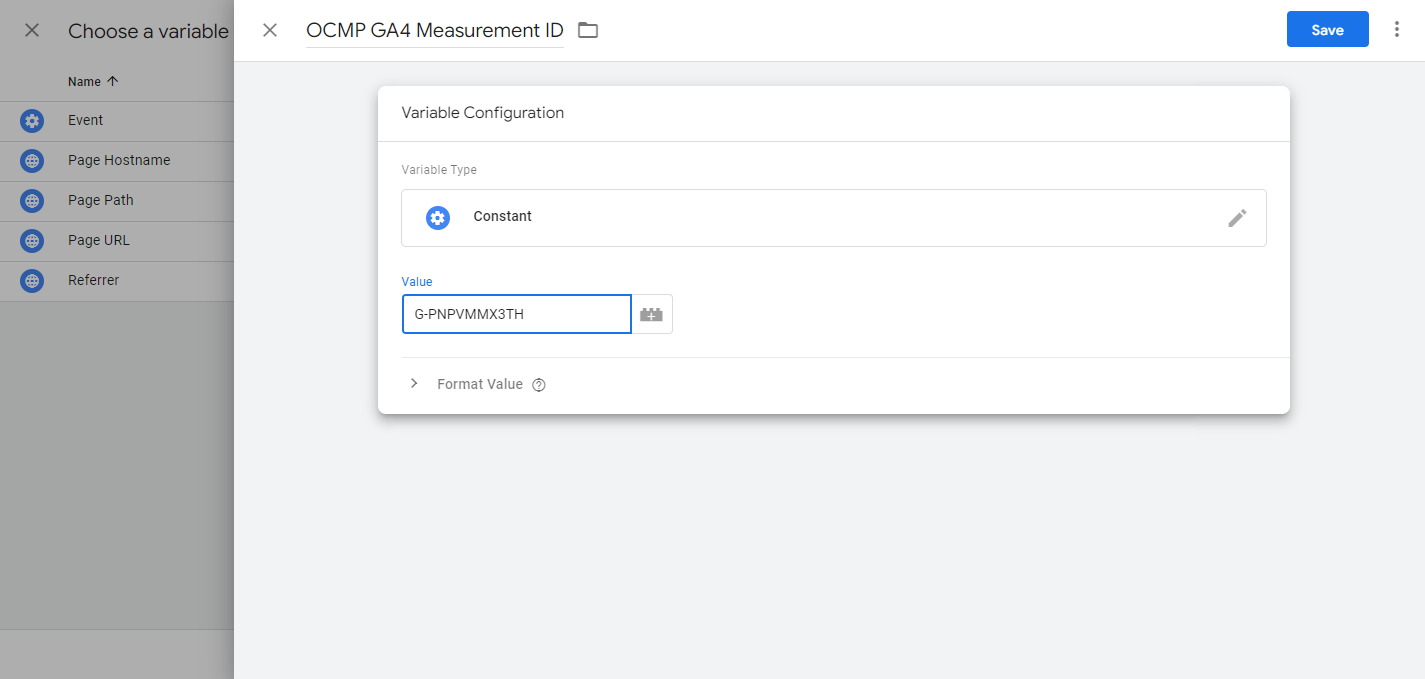
Within the Value text box paste the Measurement ID, then click save.
After clicking save you will be brought back to the Tag Configuration and have the variable selected for you.
Do notice the double braces, that’s how you specify a variable in any field with a brick-shaped icon.
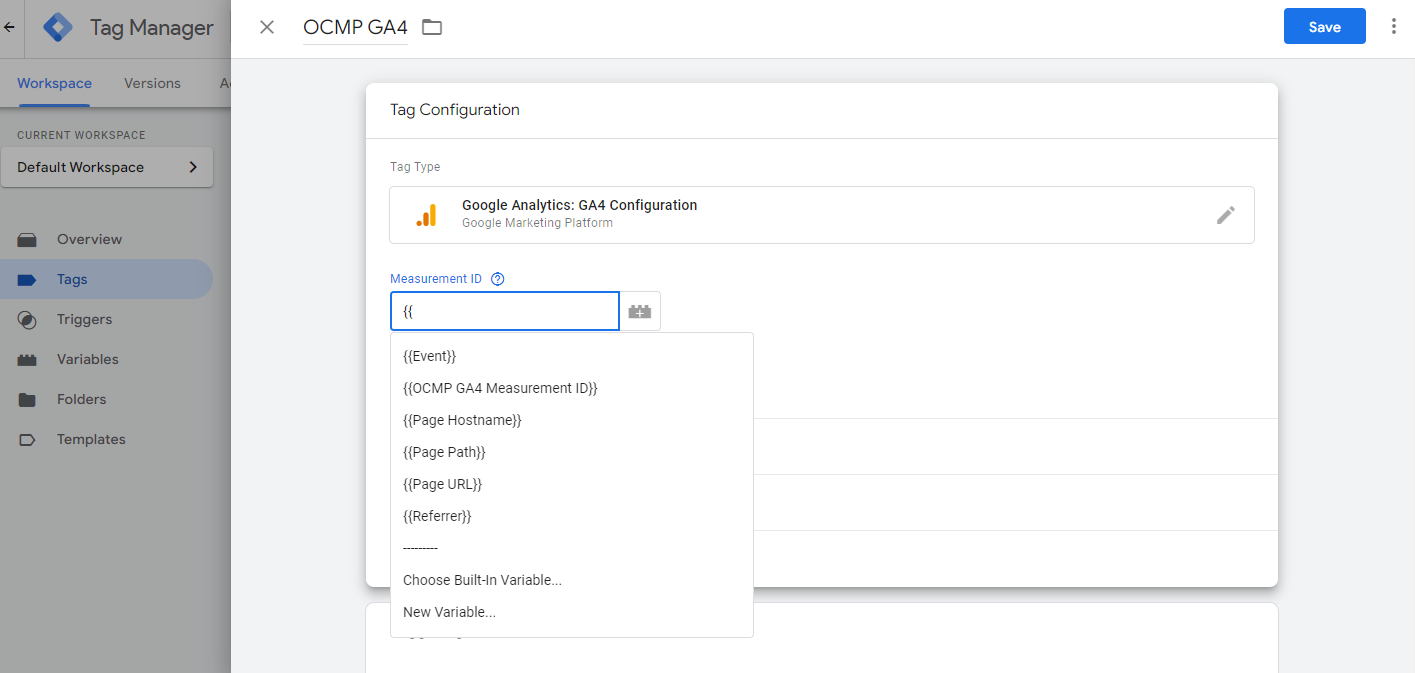
For example, if you have created a variable beforehand, then you could type {{ and Tag Manager will open an autocomplete field allowing you to choose from the variables you already have.
Leave the Send a page view event when this configuration loads checked and the Send to server container unchecked. Then scroll down to the Triggering section.
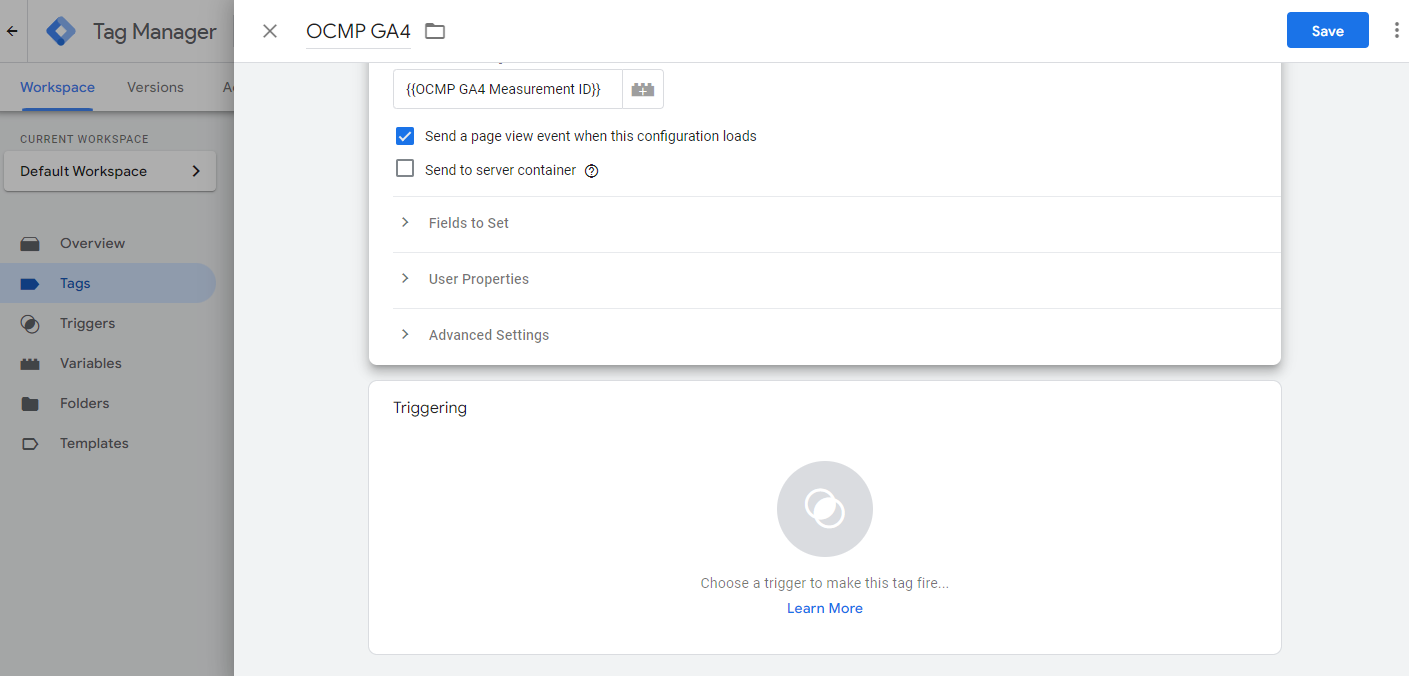
As with the Tag Configuration, click on the grey circle or anywhere within the Triggering whitespace, and another panel should pop up and prompt you to choose a Trigger.
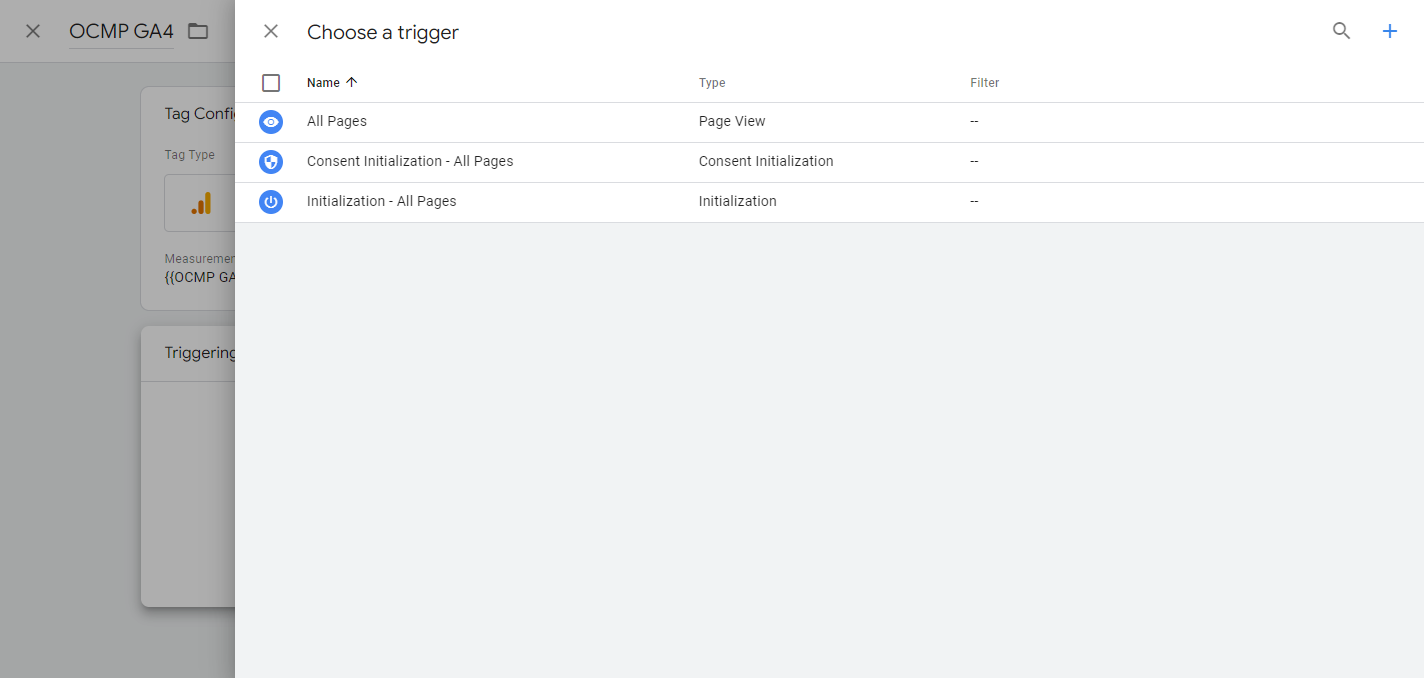
This time we won’t create a trigger as there is one built-in trigger that works for us. This is the Initialization - All Pages trigger, so click on it to select it.
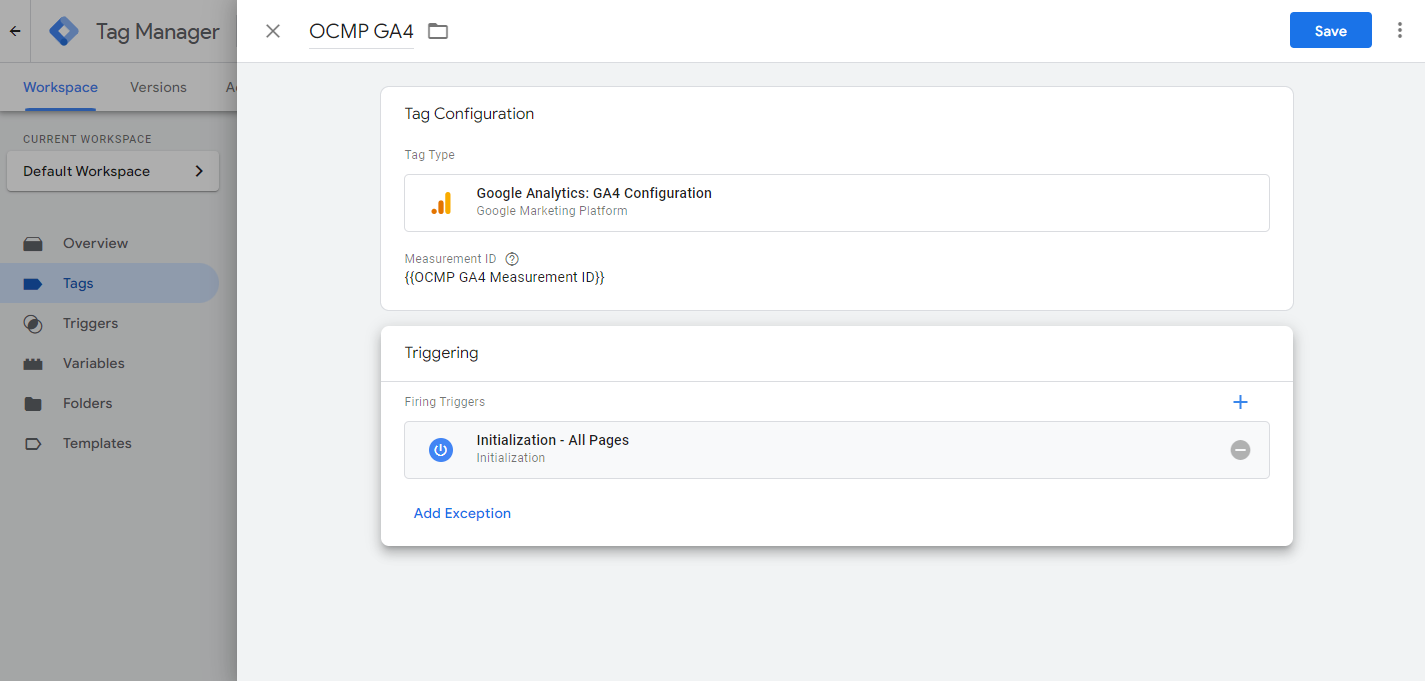
That’s it we don’t have to do anything more, just click on Save and your GA4 tag is ready.
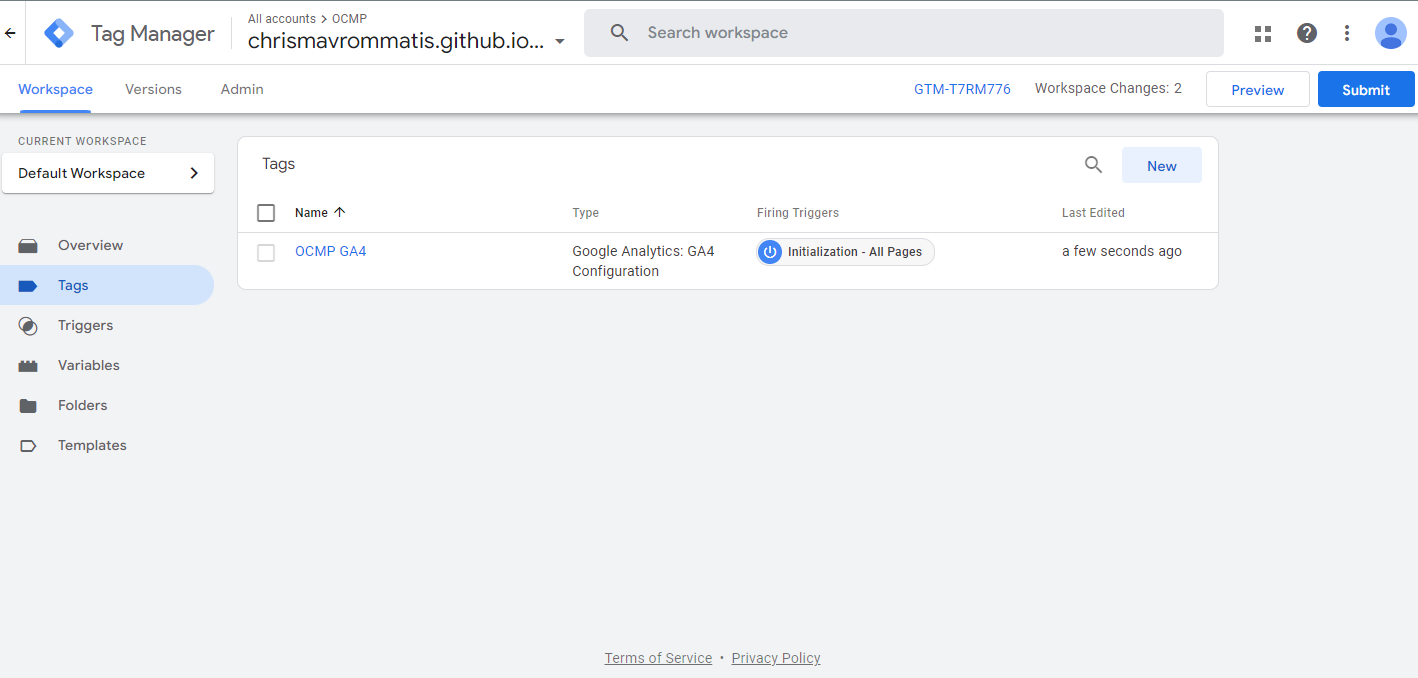
All that is left to do is publish your changes so the tag is fired on your site. Publishing is covered in Tag Manager Intro