Consent Mode
This guide will show you around GTM’s Consent Mode. This is the key feature that OCMP relies on and makes it work. As such you should become very familiar with it.
Prerequisites
This guide assumes you have already created a Tag Manager account, a Container and already setup GA4 on it. If not, follow the guides below first.
Table of Contents
Introduction
GTM has a total of 7 consent types, and they are used to control when a tag is fires.
| Consent Type | Description |
|---|---|
| ad_storage | Enables storage (such as cookies) related to advertising |
| analytics_storage | Enables storage (such as cookies) related to analytics e.g. visit duration |
| functionality_storage | Enables storage that supports the functionality of the website or app e.g. language settings |
| personalization_storage | Enables storage related to personalization e.g. video recommendations |
| security_storage | Enables storage related to security such as authentication functionality, fraud prevention, and other user protection |
| ad_user_data | Sets consent for sending user data to Google for advertising purposes. |
| ad_personalization | Sets consent for personalized advertising. |
The above table is taken directly from Google’s Consent Configuration article.
That means when you configure a tag with the analytics_storage consent type, when that consent type is granted, only then will Tag Manager fire that tag.
Consent Configuration
By default Consent Mode is turned off for all tags and you need to turn it on.
To enable it you must enable the Consent Overview feature. How you do this is also covered in the article below.
Once you enable it, you do so for your entire container, so be sure to review what tags need which consent and have a solution compatible with Google’s consent mode in place… such as OCMP!
Read the following article and enable the Consent Overview then return here to follow along with editing the GA4 tag.
Configuring Consent for GA4
We are going to use the GA4 tag created in Basic GA4 Tag Manager Setup to configure the consent mode for this example.
Navigate to your tags and click on the GA4 Config tag to edit it.
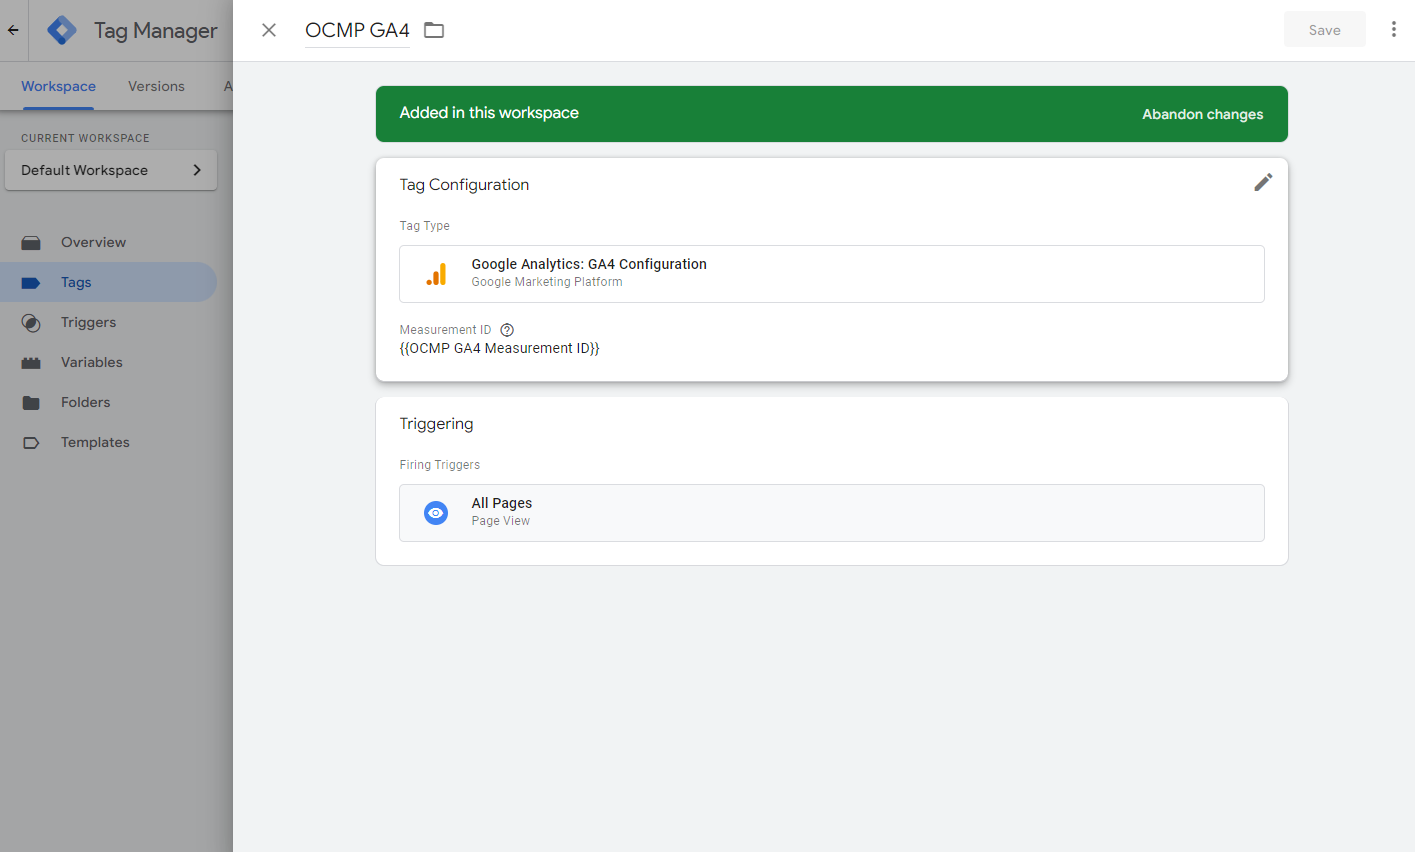
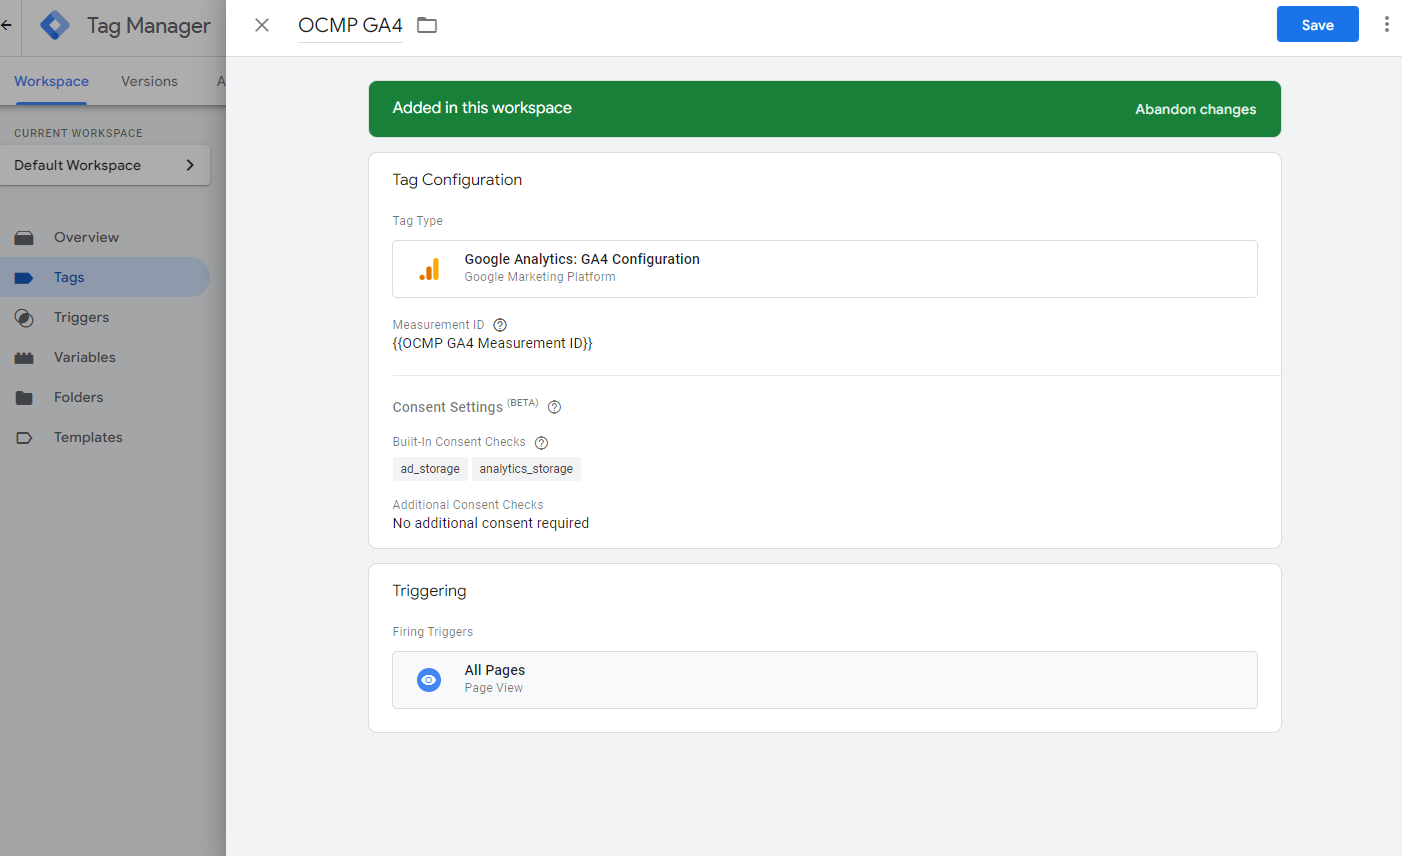
Now click on the Tag Configuration area to expand it and be able to edit it.
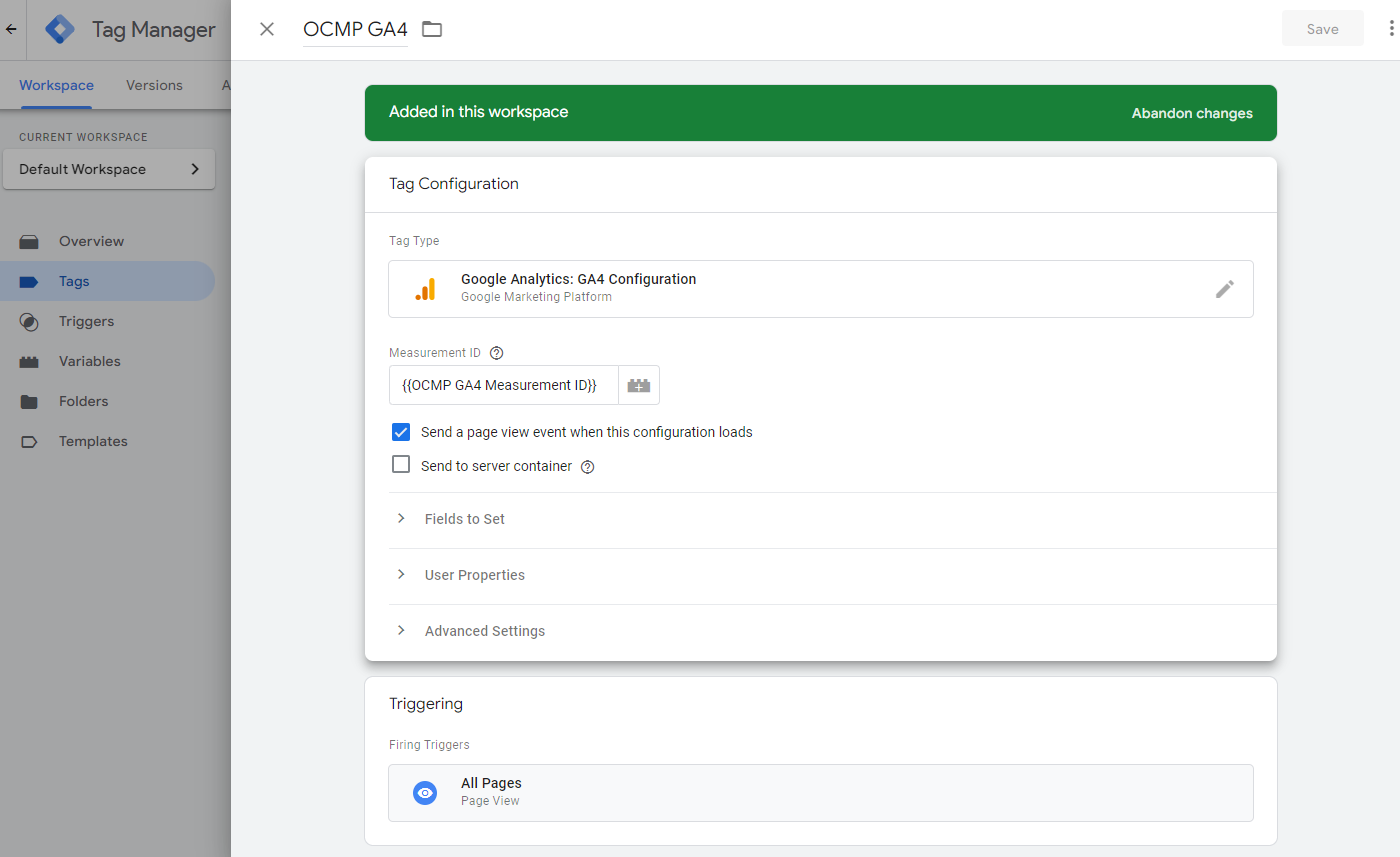
Locate the Advanced Settings item and expand it then locate the Consent Settings.
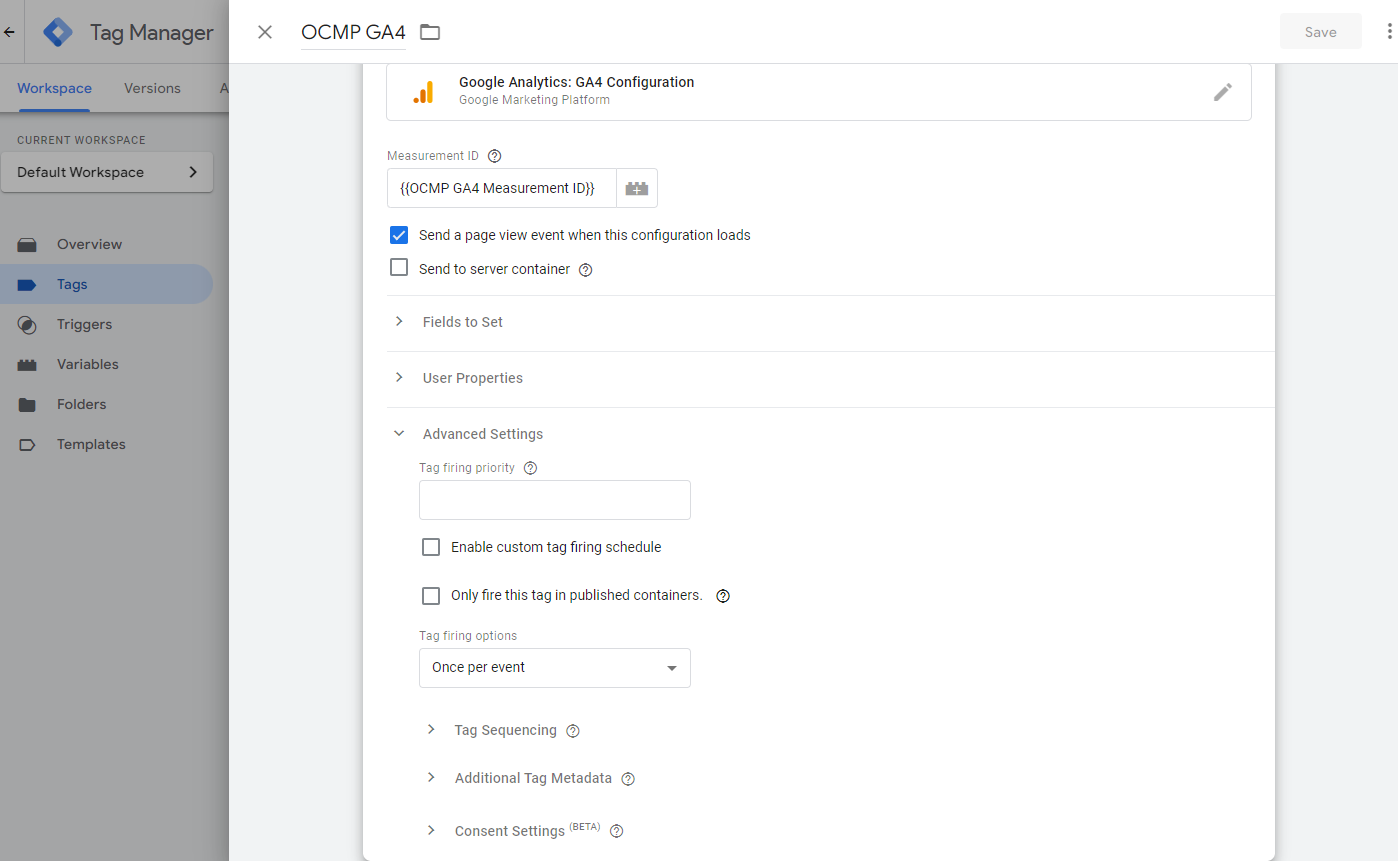
Here you should see the Built-In Consent Checks the tag uses and below it you shopuld see the consent check configured for that tag.
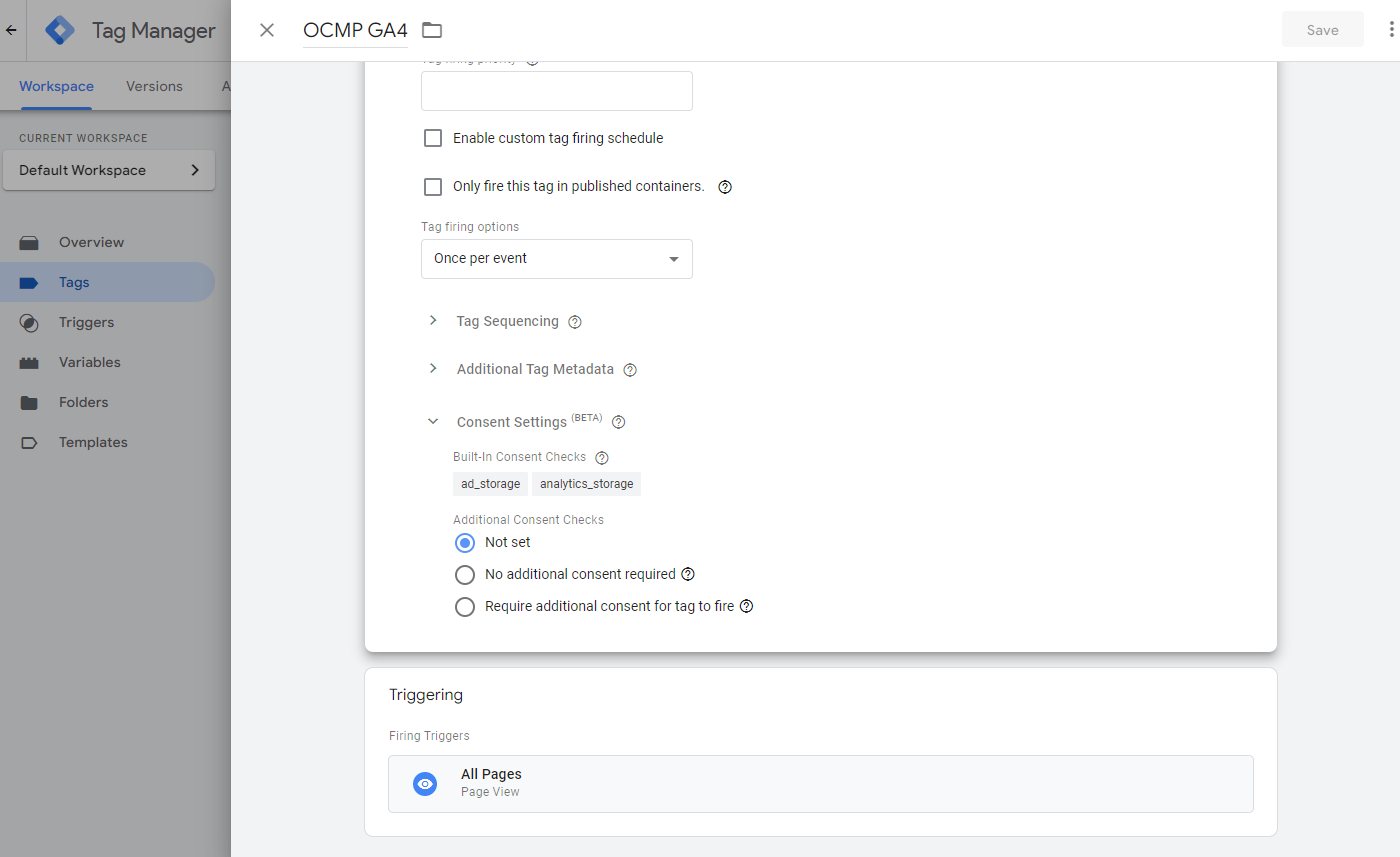
There are 3 options
- Not Set is for when you have not reviewed the consents for this tag (Will still check the built-in consents and fire once Consent Mode is enabled).
- No Additional consent required means you have reviewed the tag and you decided you are ok with the built-in consents.
- Require additional consent for tag to fire is where you add consents for a tag that already has some built-in or none at all.
Once satisfied click out of the area but within the panel to see the consents that are now configured in the tag.
Save the changes and return to the Tags screen.
Consent Overview
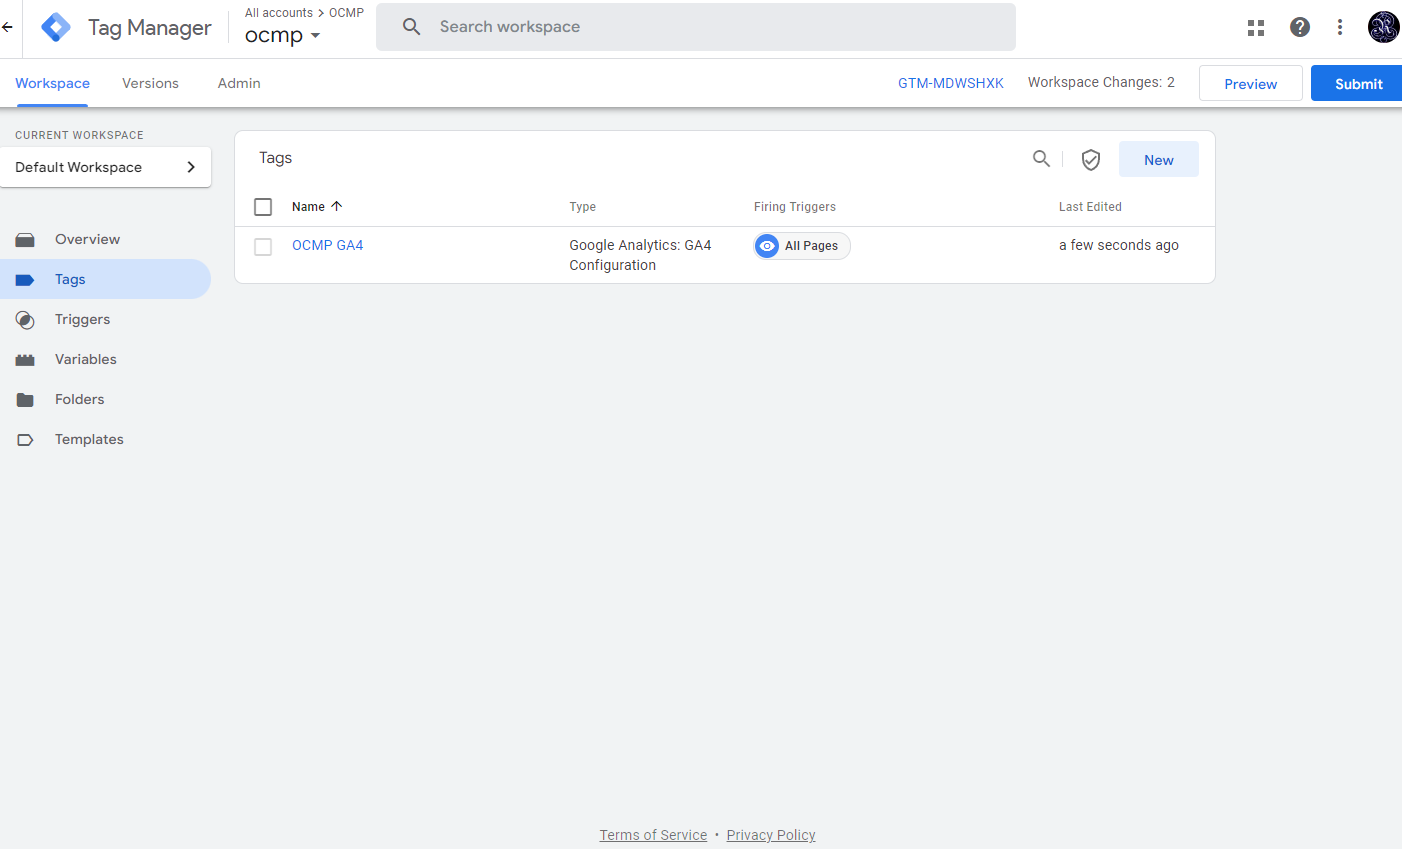
From the Tags screen, as shown in the image above, you should locate the Consent Overview button.
It is next to the New button on the upper right and looks like a shield with a checkmark.
Click on it to open the Consent Overview Panel
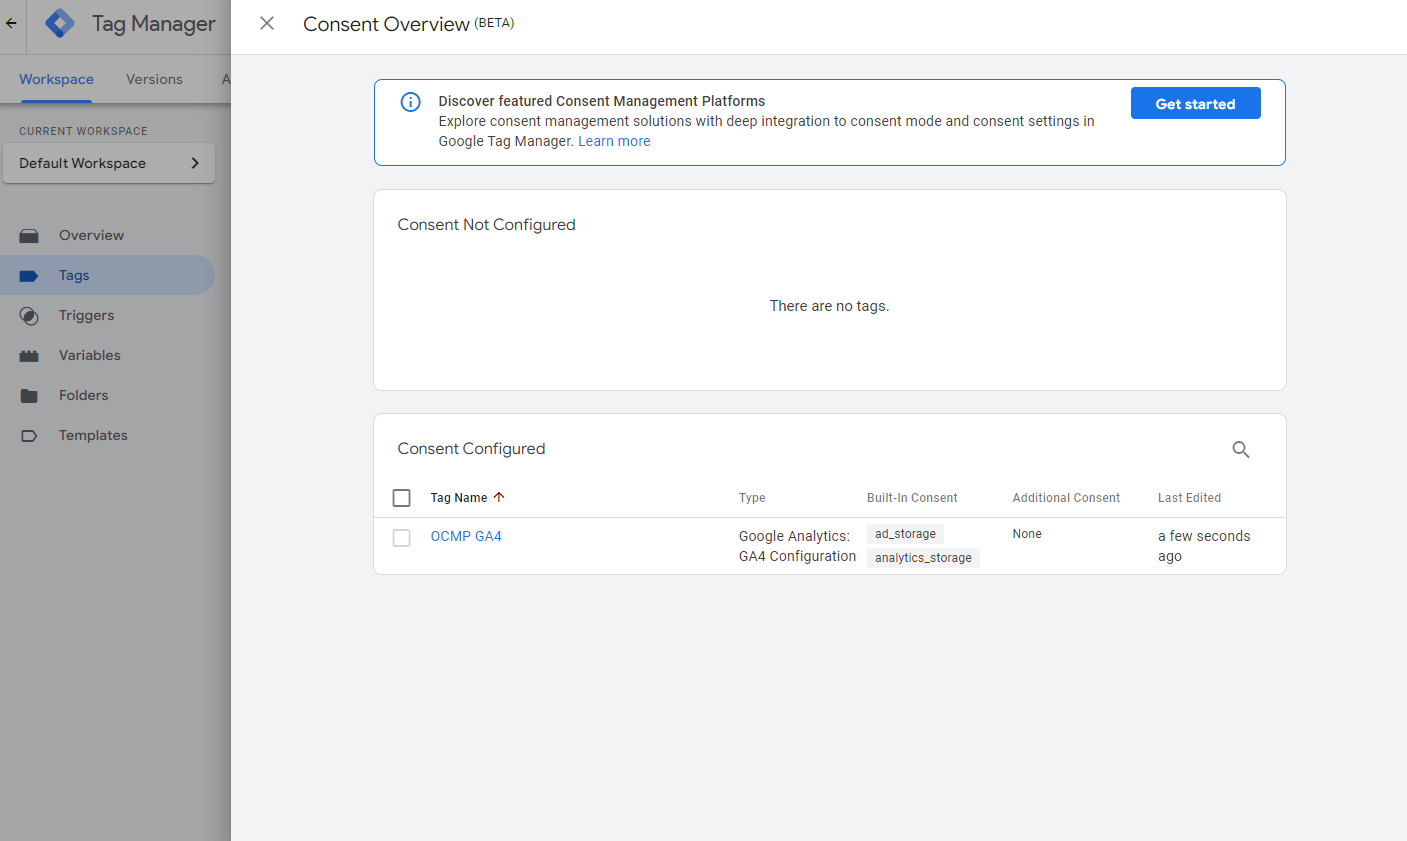
Here you can see for which tags you have configured consent for and which not, as well as the built-in and additional consents for all the tags in your container.
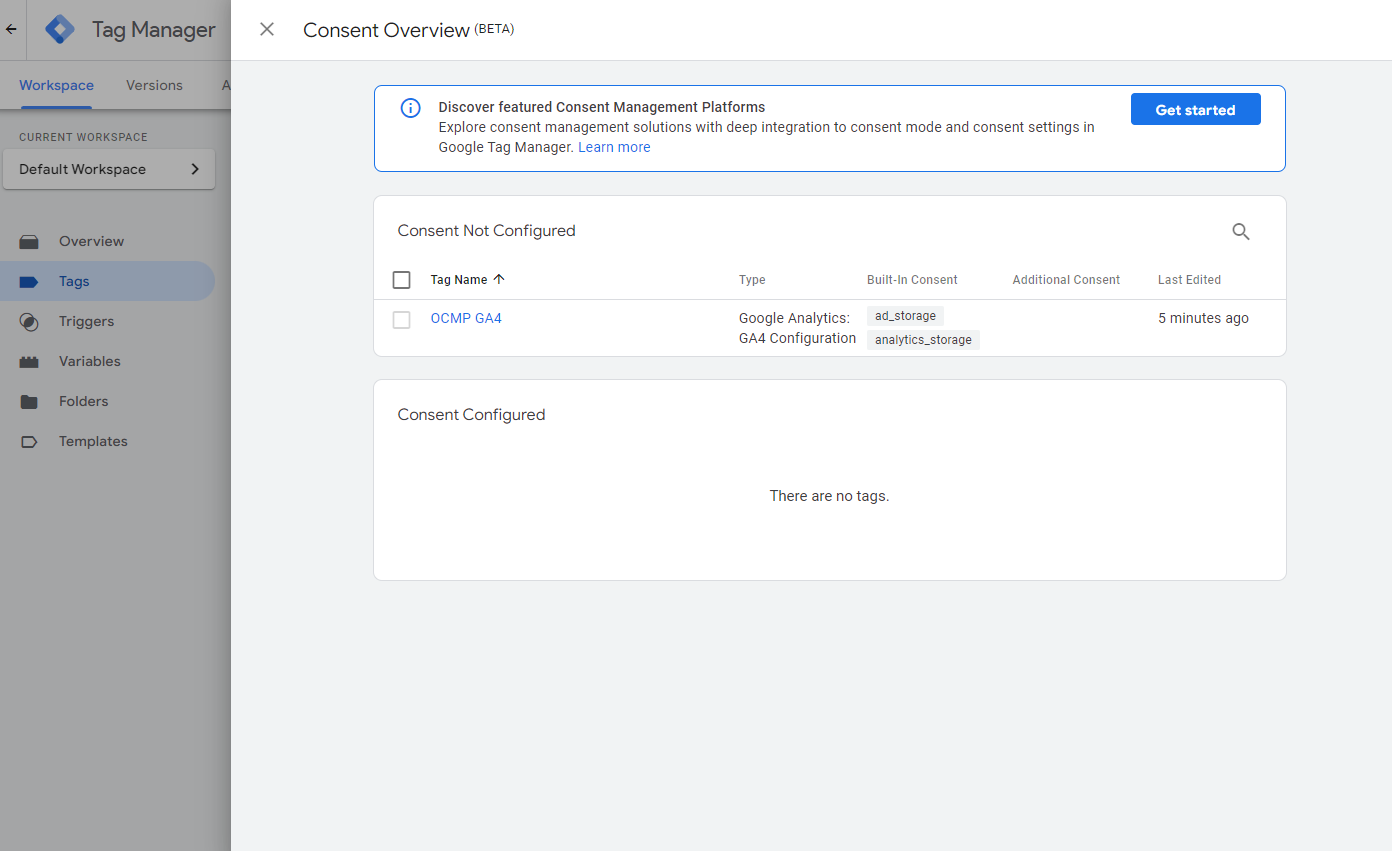
The previous image should show how your GA4 tag would look like with consent configured, whereas the following image should show how a GA4 tag would look like without configuring the consent.
If you followed along you should have created a GA4 tag with consent mode configured.
Now all that is left is to add OCMP and you will be good to go.