Creating a Tag Manager Account and Container
This guide will walk you through creating a GTM account and a container, both of which are essential in working with OCMP.
Prerequisites
This guide assumes you already have a Google account and we won’t focus on how to open one.
It is also a good practice to keep Google Analytics, Tag Manager and Search Console under one Google Account as those services can link with each other.
Finally, while it is not essential for this guide, you must at least set up analytics and a Search Console for your site.
Tag Manager Account vs Container
Before we begin, it’s important to understand that a Google account is different from a Tag Manager account. Within a Google account, you can have many Tag Manager Accounts.
A Tag Manager Account can have multiple containers. A container is actually what you add to a website. Usually, you add a container to a single site only.
Additionally, a Tag Manager account can behave like a group for similar sites. It’s really useful when you need to add several people and have them manage multiple sites, instead of adding them to the containers directly.
If you have both a production and a staging site, each of them should have a different container but both should belong to the same account.
Likewise, if you have a corporate info site and an e-shop or a b2b version and those require different setups, each of them should have a different container but they should all belong in the same account.
Creating a Tag Manager Account
Visit tagmanager.google.com, and log in with your Google account.
The following image should depict an empty Tag Manager Account management screen or the Tag Manager home page.
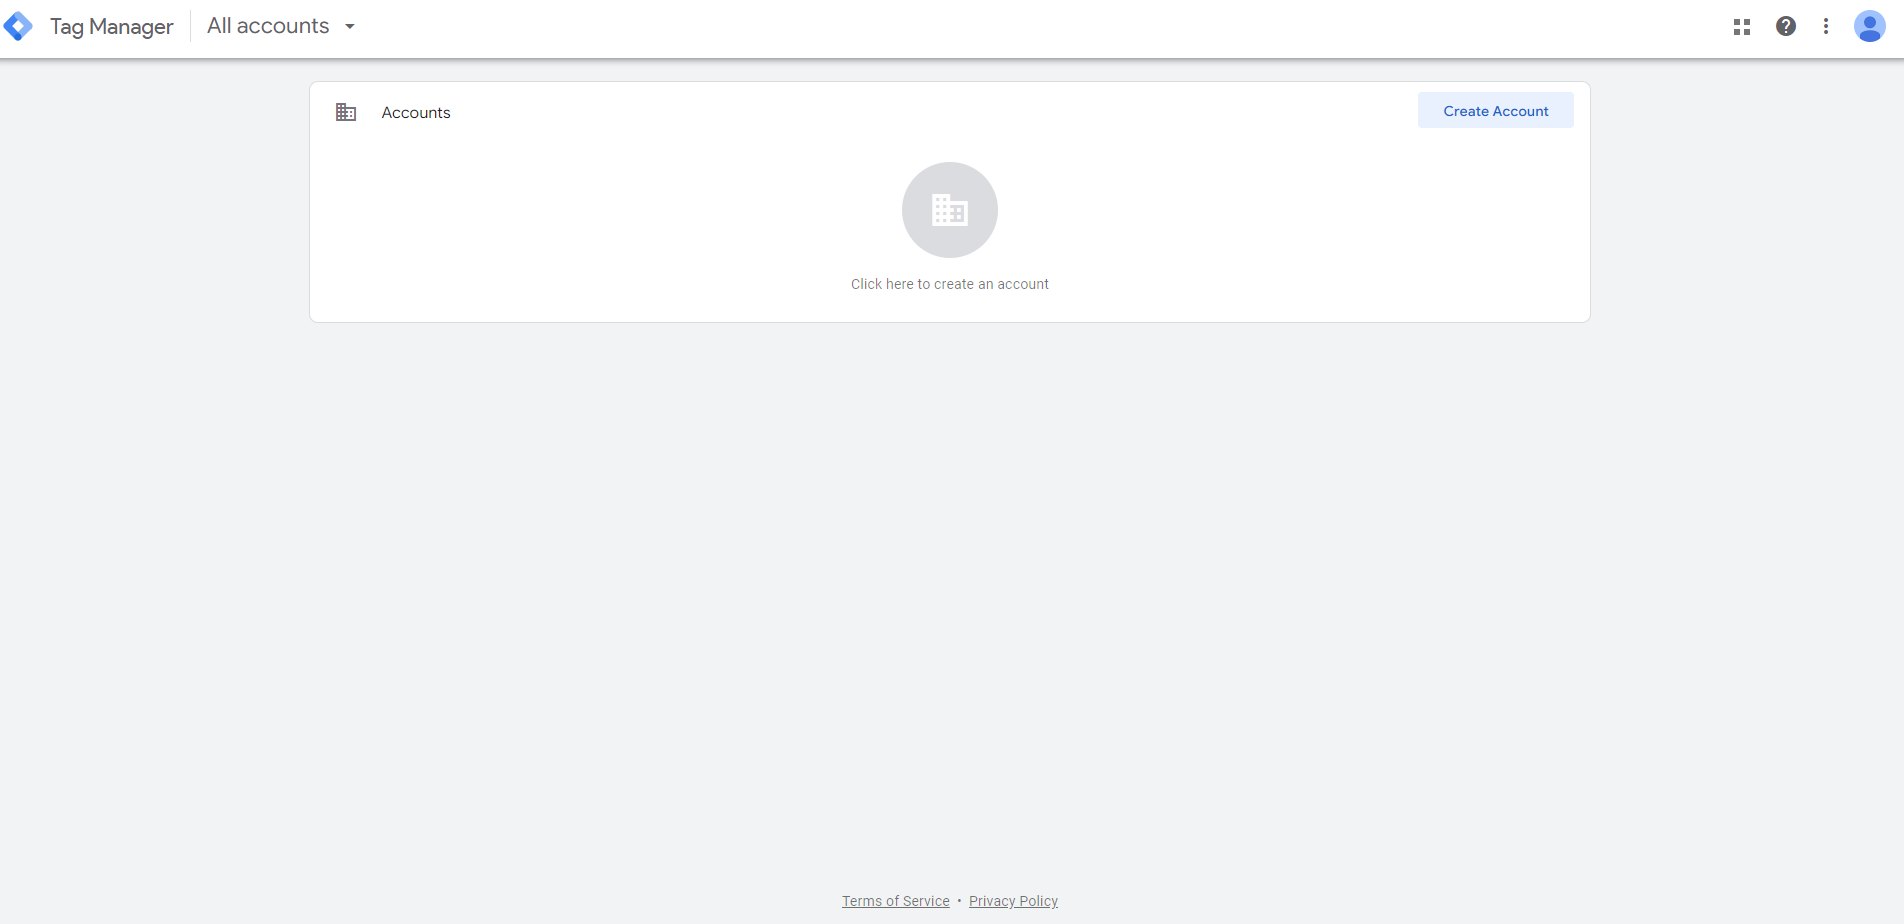
Click on Create Account and the following screen will prompt you to choose an Account name.
As you can see, the name is the company name. That is why it’s best to add containers for similar sites, under the same account, or if a company owns multiple sites. It boils down to the separation of user management.
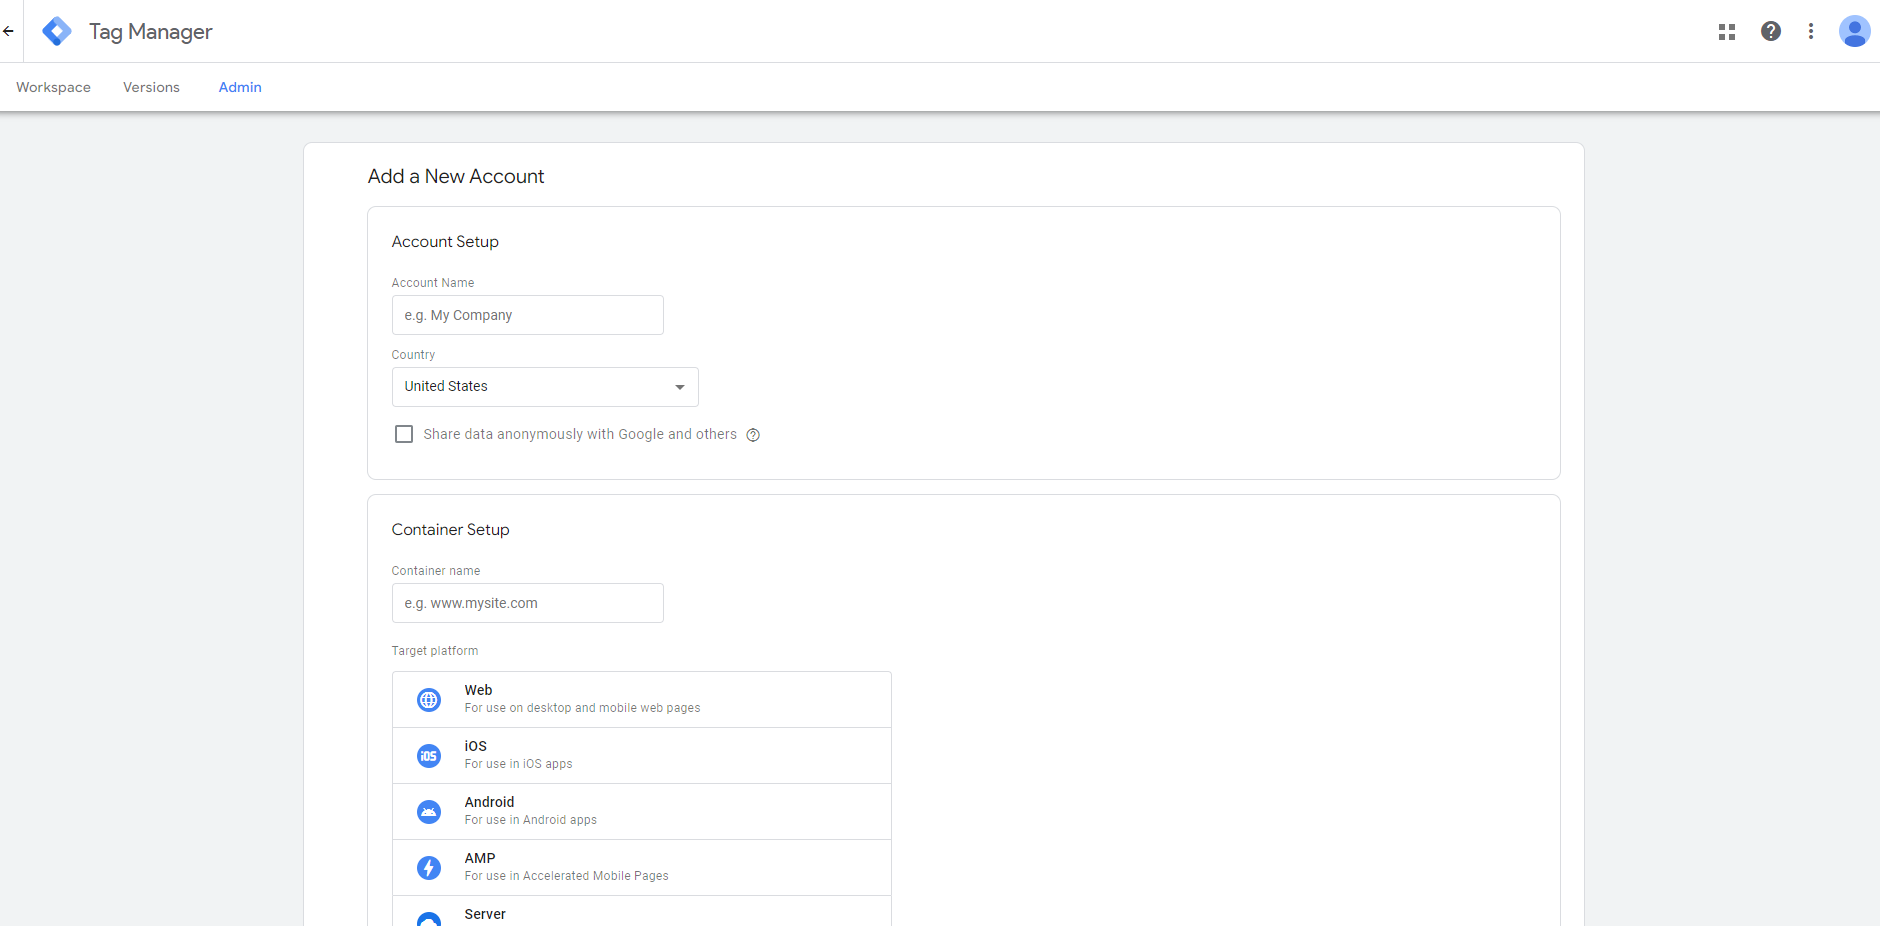
Creating the Container
Below the account setup, you are prompted to add a container. Fill in the name of the container, which can be the site itself. You can always change it later and it doesn’t matter what you input in, as long as you can easily distinguish between a container for the live site and the staging one.
Choose Web as the target platform, click Create and agree to the terms.
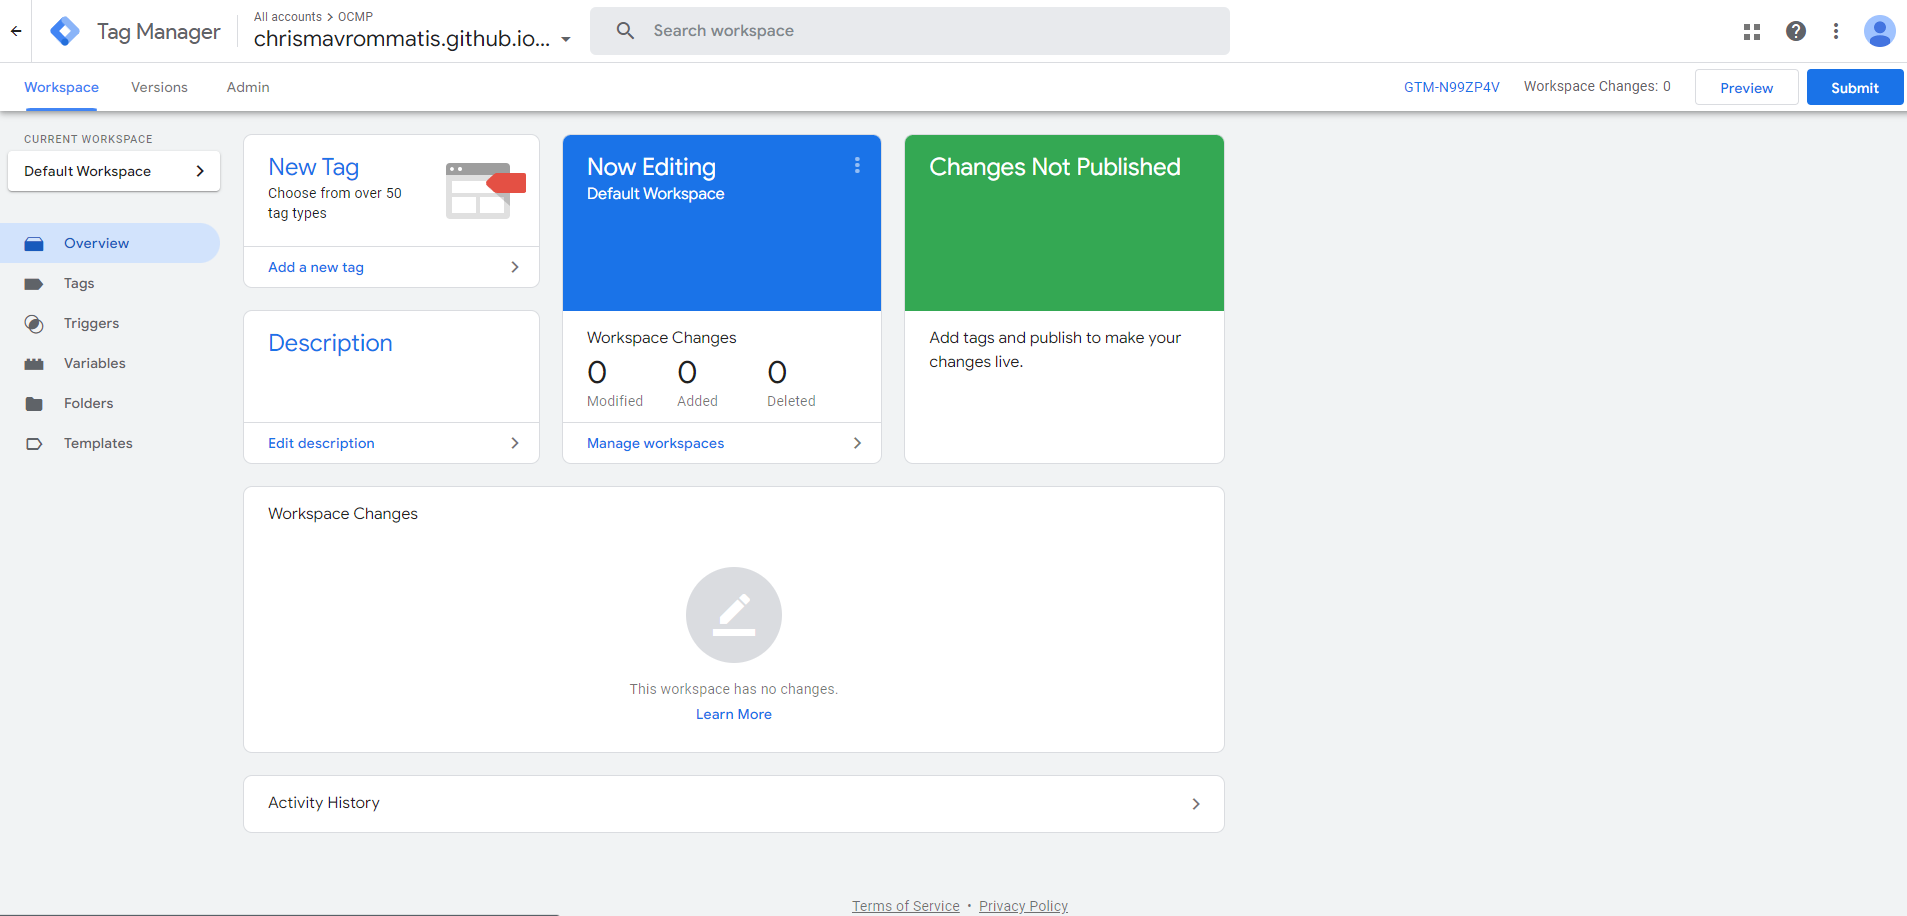
Once you create the account and container, the site will bring you inside the container’s page.
Visit tagmanager.google.com to get an overview. The image below should depict a Created account and from there you can add more containers.
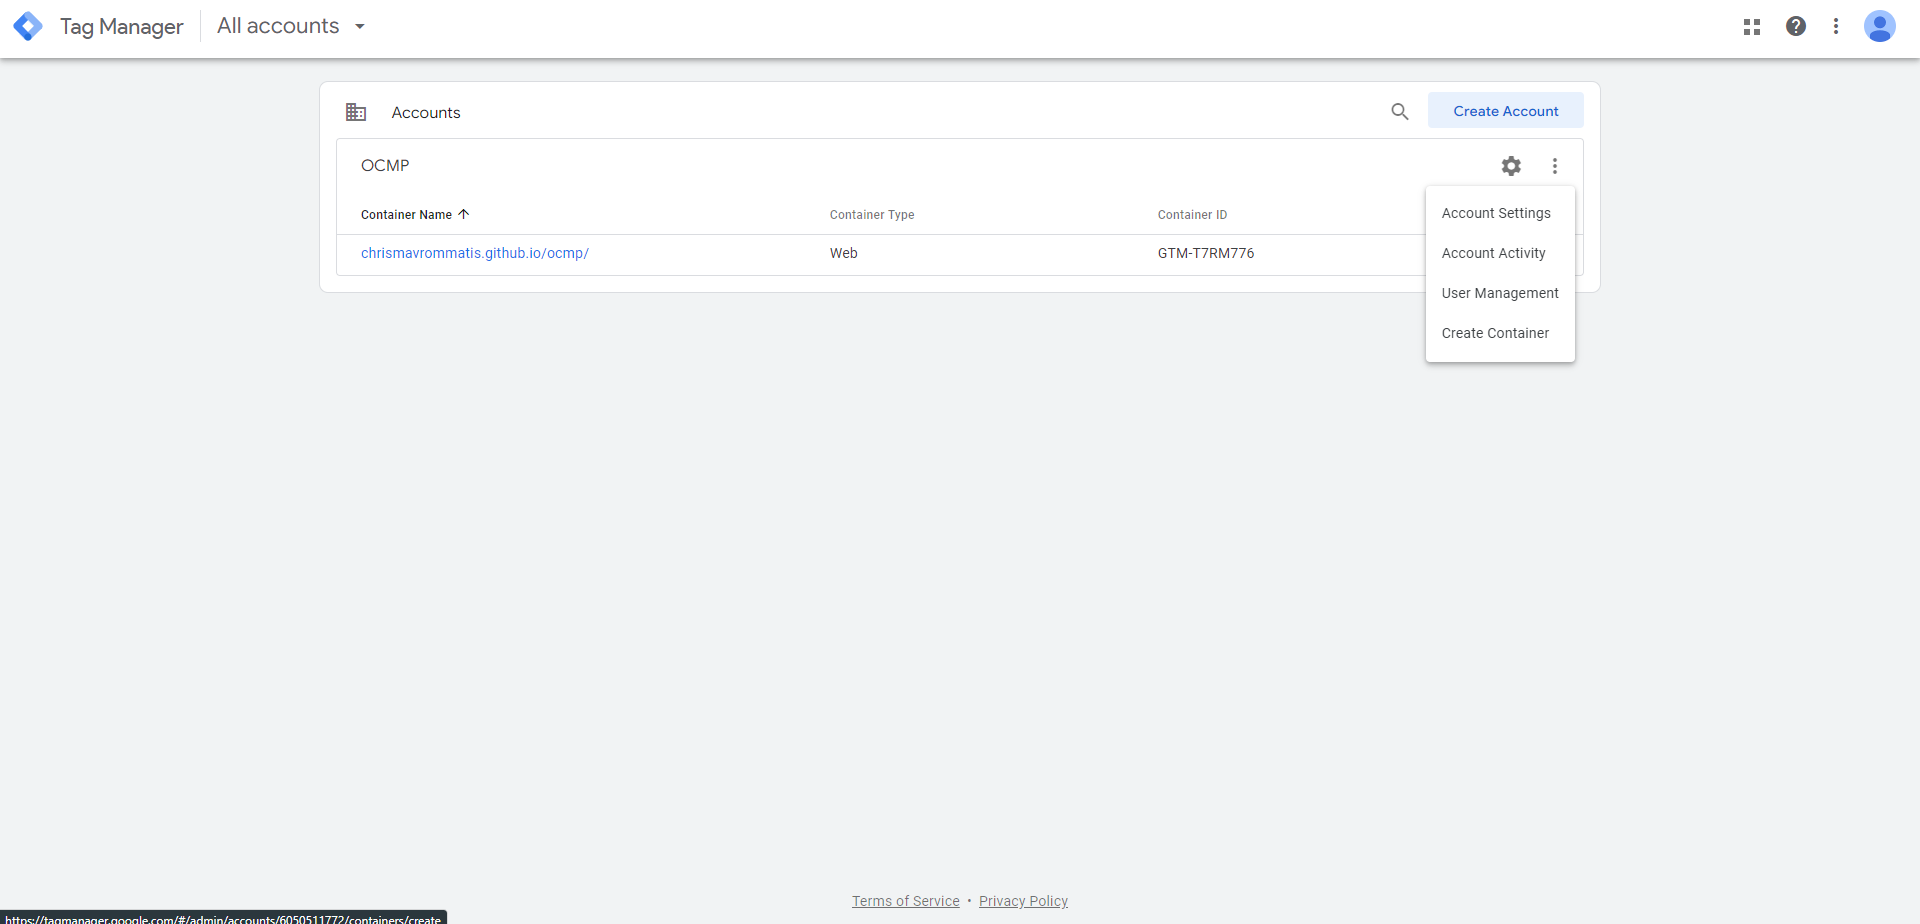
If you have a development and a staging site you should create more containers for those as well, but generally it is a good idea to start with the development site container first, then create the live one and copy everything over, or use the export/import feature.
Once satisfied you can click the container you like and it will bring you inside its detail page.
Congratulations, you have created a Tag Manager account and a Container. You can now move forward with the rest of the guides.