Tag Manager Intro
Since OCMP relies on Tag Manager you should understand what Tag Manager is, what it can do and how you can do all those things.
Prerequisites
This guide assumes you have already created a Tag Manager account and a Container. If not, follow the guide below first.
Table of Contents
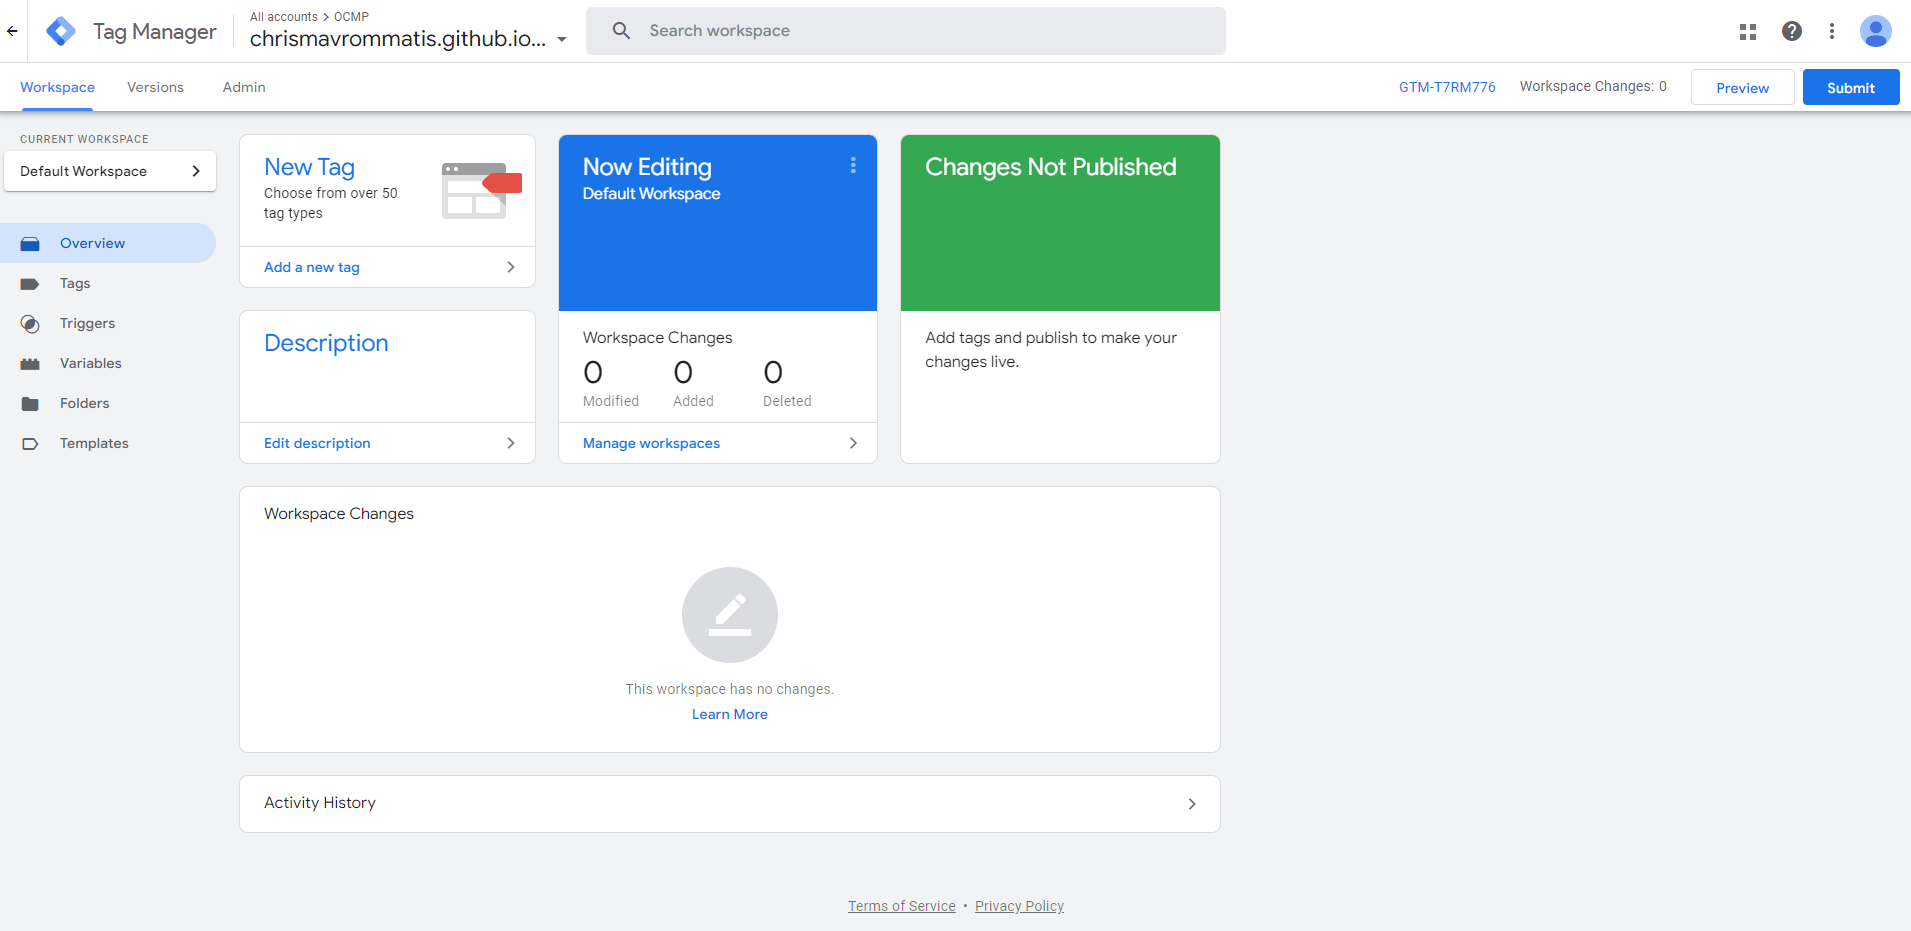
The following image depicts an empty container you’ve just created. We will go through each of the basic sections you need to know to get started. We won’t be covering advanced sections or menu items here.
Tags
Tags are actually what is injected into your site. The contents of each tag can vary, but in a sense, you can inject HTML into your site and with it, you can even inject CSS and javascript too.
If you need to inject a piece of HTML code you can do it.
If you need to add Google Analytics, guess what? There is built-in support for that and many other Google services as well as 3rd party ones.
If you don’t want to use the built-in Analytics, then you can use a custom HTML and make it yourself.
There are some limitations to this, however. From experimentation, you cannot inject anything you want.
First of all the HTML you want to inject must be valid and not all HTML tags are supported, for example, you cannot inject SVG HTML tags.
Additionally, the attributes of the HTML tags must be valid and not all can be injected, for example, you cannot inject VueJs attributes (v-for, v-if… etc).
See the examples below to get a better idea.
Valid HTML markup for GTM:
<!DOCTYPE html>
<html>
<body>

<h1>My First Heading</h1>
<p>My first paragraph.</p>

</body>
</html>
Invalid HTML Markup for GTM due to the use of the SVG tag
<!DOCTYPE html>
<html>
<body>

<svg height="100" width="100">
  <circle cx="50" cy="50" r="40" stroke="black" stroke-width="3" fill="red"/>
  Sorry, your browser does not support inline SVG.
</svg>

</body>
</html>
Invalid HTML Markup due to the use of the v-for attribute
<!DOCTYPE html>
<html>
<body>

<div id="app">
 <ul>
   <li v-for="x in todos">
   {{ x.text }}
   </li>
  </ul>
</div>

</body>
</html>
Finally, the javascript you intend to inject must be valid and in ES2015 syntax. If you have any error Tag Manager will simply not allow you to publish your changes to the container.
Finally, all Tags must have at least one Trigger.
Triggers
Tags need at least one Trigger to work. Triggers are what, as the name suggests, trigger the Tags.
There are many build-in triggers such as the “DOM Ready” trigger which is when the DOM has finished loading 1
For example, you can use the above trigger to inject a custom piece of HTML into your site.
Triggers also take parameters and can fire conditionally. For example, you can configure the above trigger so it only fires when the page is in English so you can inject an English-only HTML code into your site.
You can also utilize custom Javascript events for your triggers.
Variables
Variables add functionality to Tag Manager and can be useful for advanced setups. However, even simple setups can benefit from them.
For example, you can make a custom constant variable for the analytics property and use that variable, instead of having to write it all over the place. That way if the analytics property changes, then you only have to change it in one place.
Variables can be dynamic and can be used in Triggers to give them real functionality.
For example, you can make a DOM Element variable for the <html> element and have it look at the lang attribute to determine the language of the page.
HTML lang attribute example:
<!DOCTYPE html>
<html lang="en">
<head>
 ...head content
</head>
<body>
 ...body content
</body>
</html>
There are also many built-in variables such as the Page URL, which you can use to fire a Trigger only when a user visits a specific page on your site.
Workspaces
A workspace is like a branch in a version control system, such as git. It allows 2 or more people to work in a single container without having to worry that one’s unfinished changes will be published by the other.
Every change is noted down in the workspace and isn’t applied to the site until you publish those changes.
We won’t focus on working with workspaces here as this is an intro.
Publishing
Publishing is the act of applying changes in the workspace to your site. Each time you make a change it is not automatically transferred over to your site, but stays in the workspace. This is because it may require you some time, to complete those changes. So you have to publish your changes for them to take effect.
If you have completed the Basic GA4 Tag Manager Setup and head over to the overview screen, you should see a screen similar to the following.
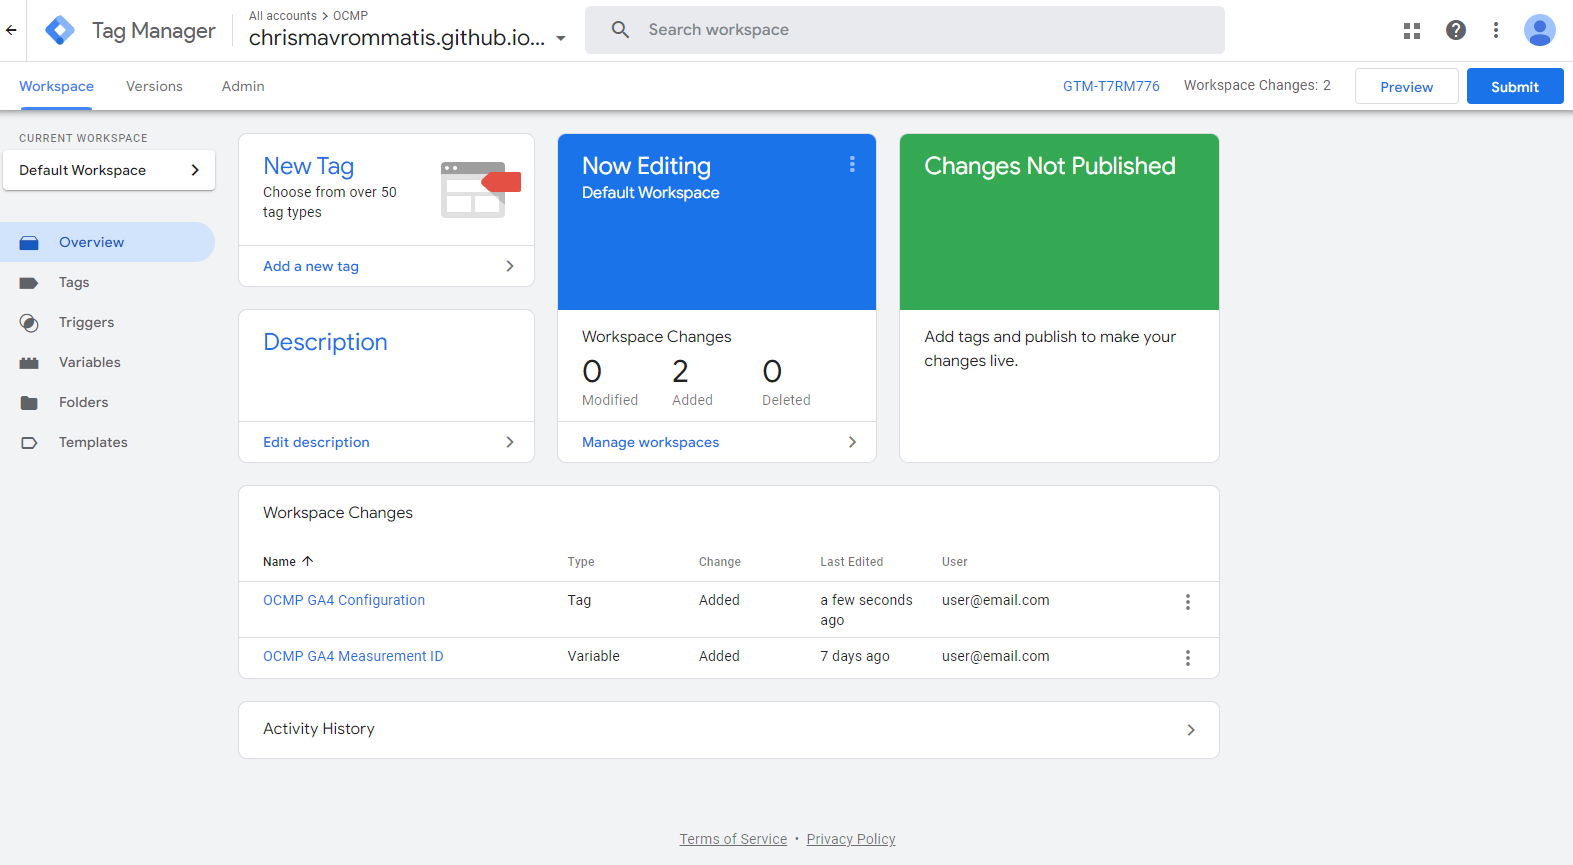
Those changes above have not been applied to your site, to apply them you must first click the Submit button, which is located on the upper right of the screen. The following panel should appear.
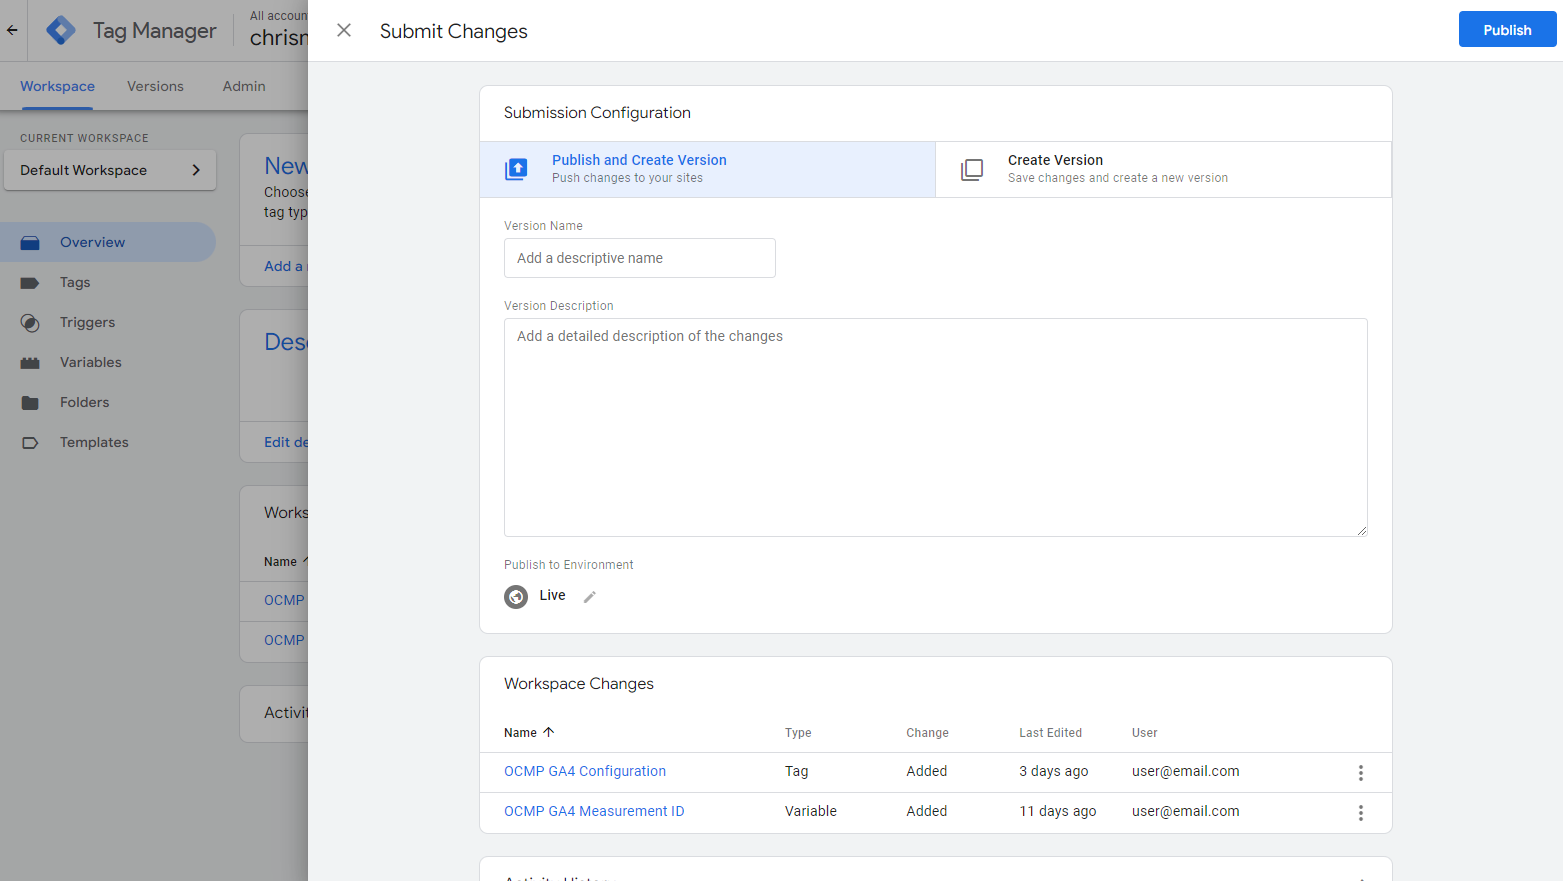
When you publish your changes, they will be rolled up in a version number. You can name the version anything you want and give it a description, but it is not necessary.
It is really useful if you ever need to roll back.
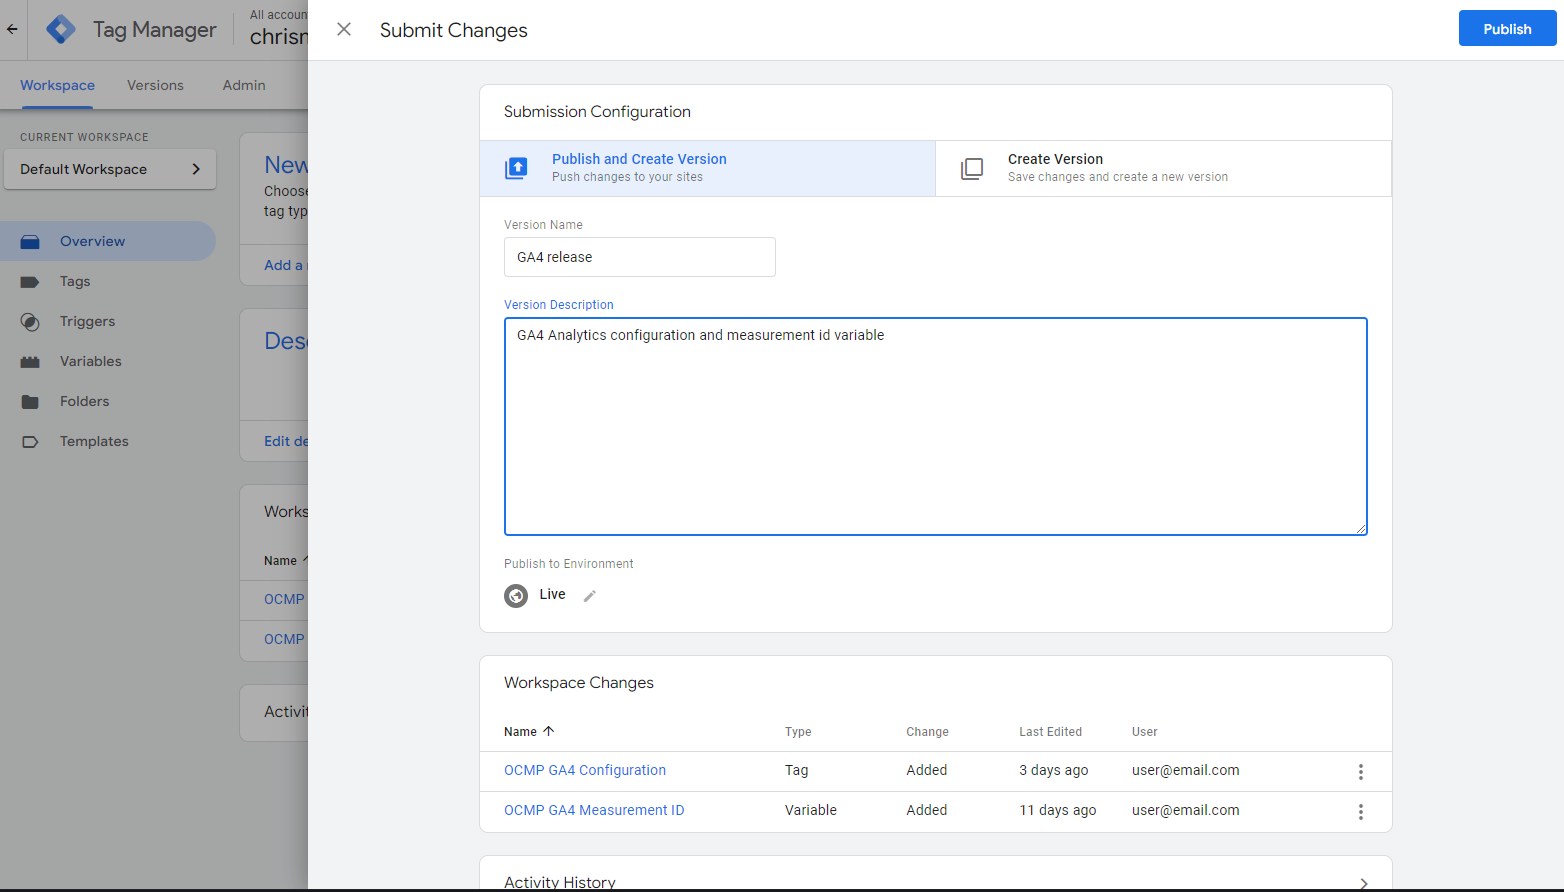
Then click on Publish and the following loading screen should appear for a while.
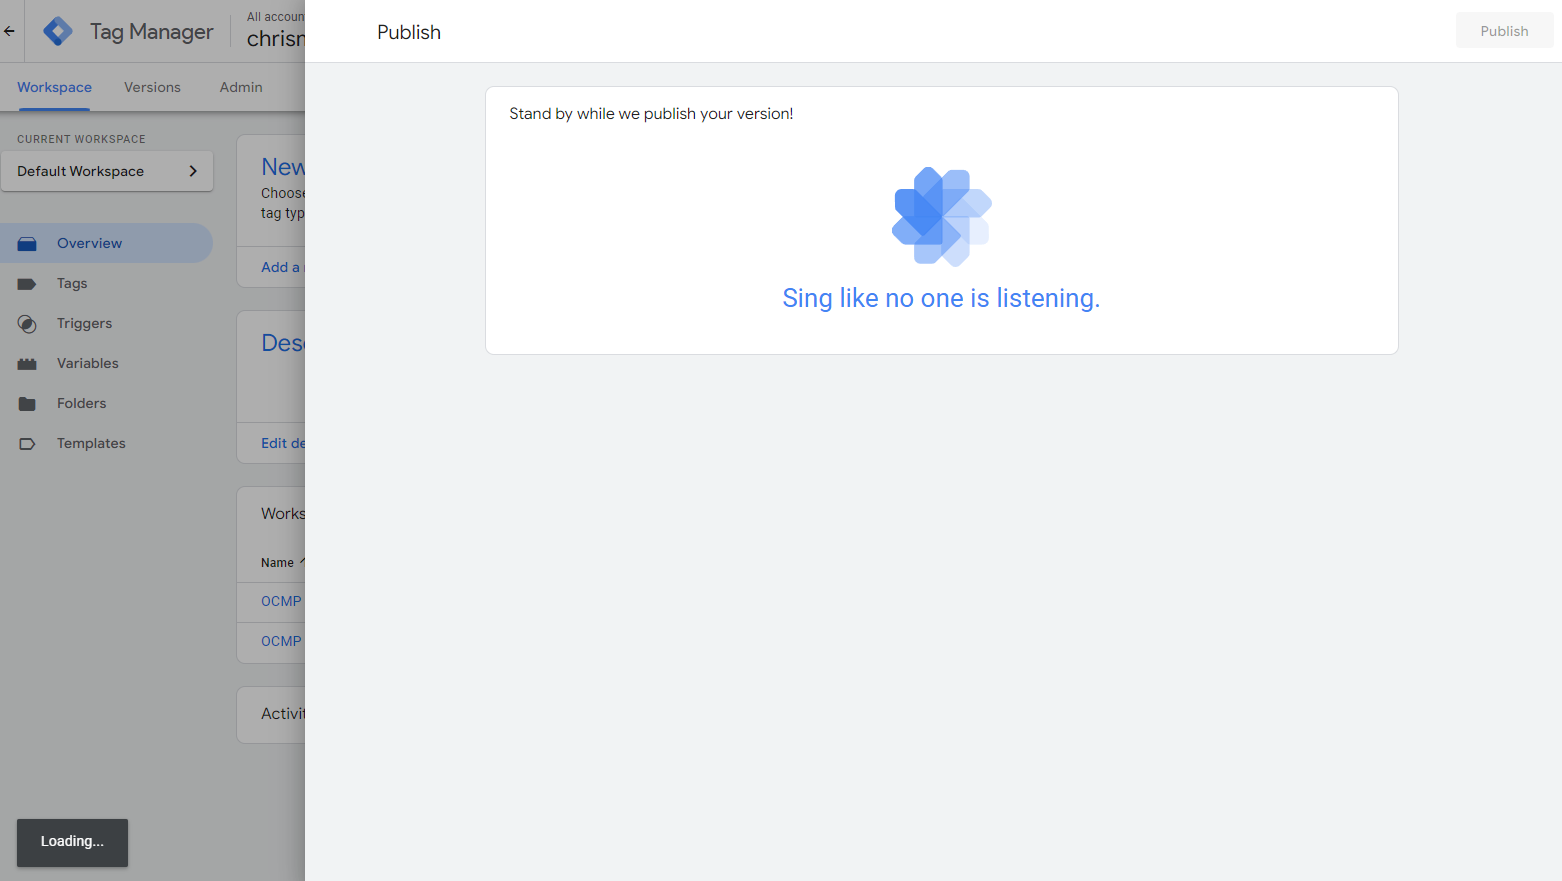
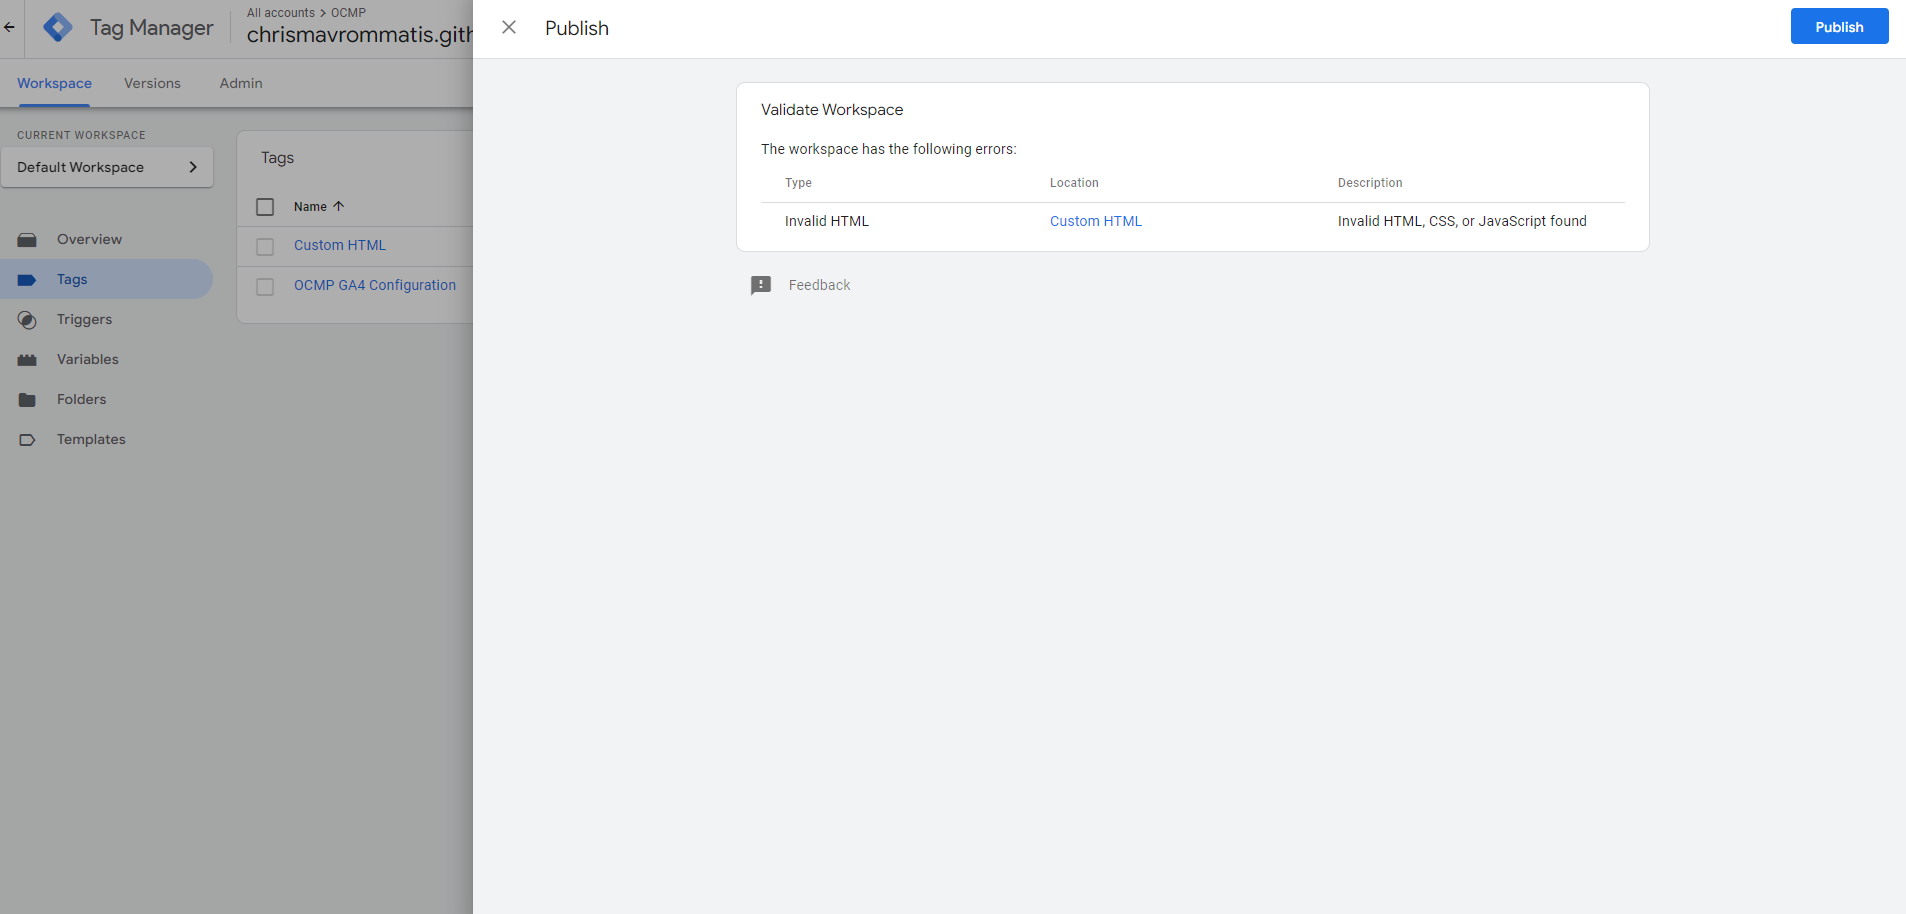
While it is loading Tag Manager will check for errors. If there are any the following screen should appear that will list the errors.
The following screen shows an error within the Custom Html. That tag which is a Custom Html tag named as such. In there I have purposefully placed an invalid HTML from the examples above.
After publishing has finished and provided there are no errors, the following screen should appear.
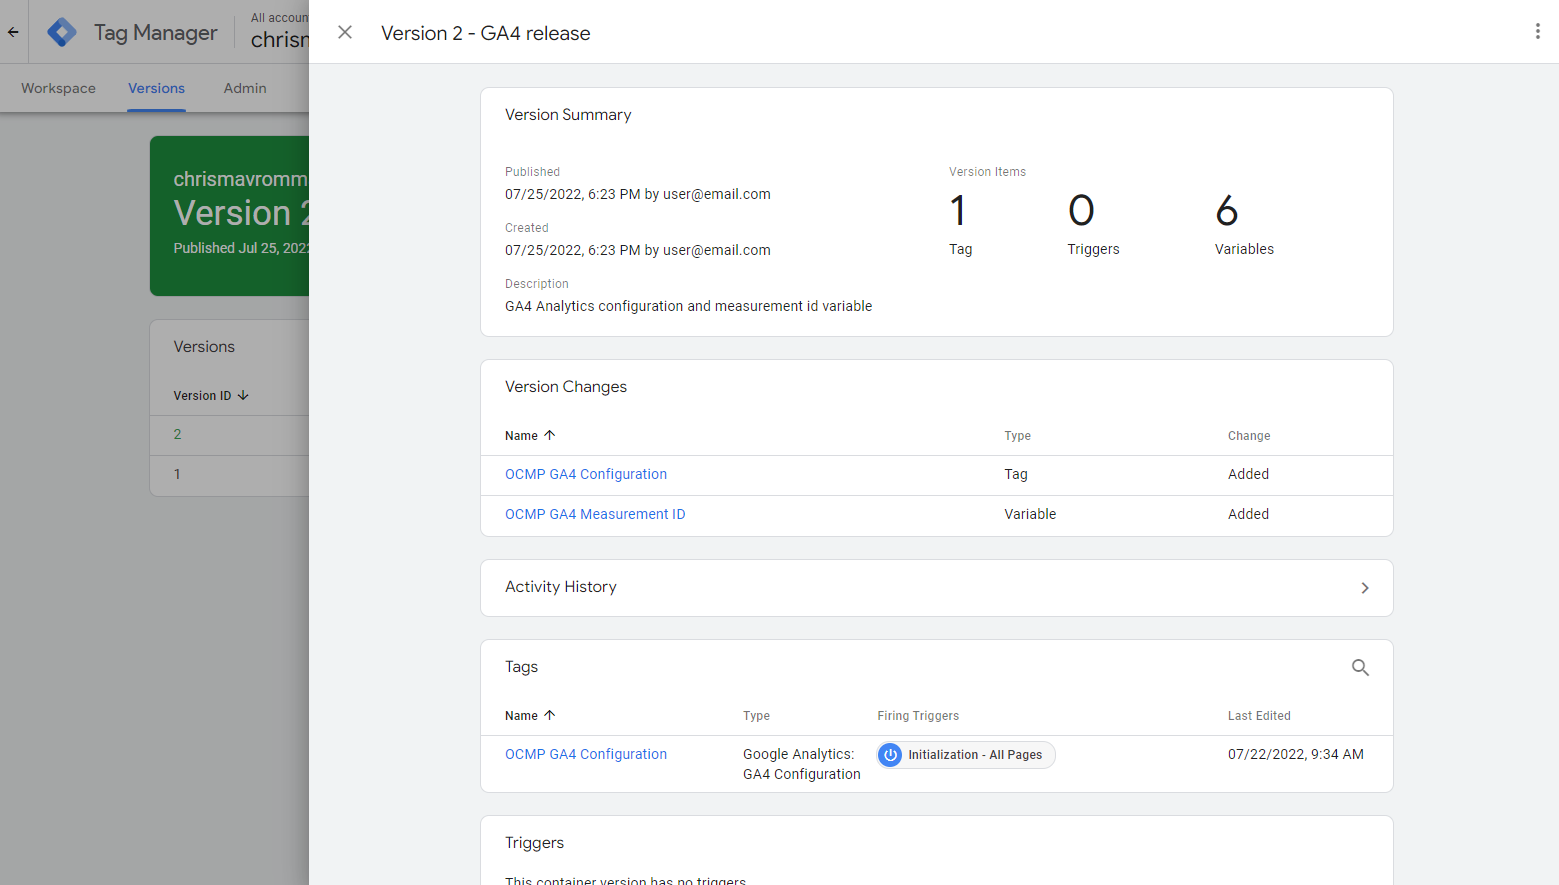
This is where you get the version number with the name and a general detailed overview of the changes.
Click on X to close the panel and you should see the Versions screen which is where all published changes appear.
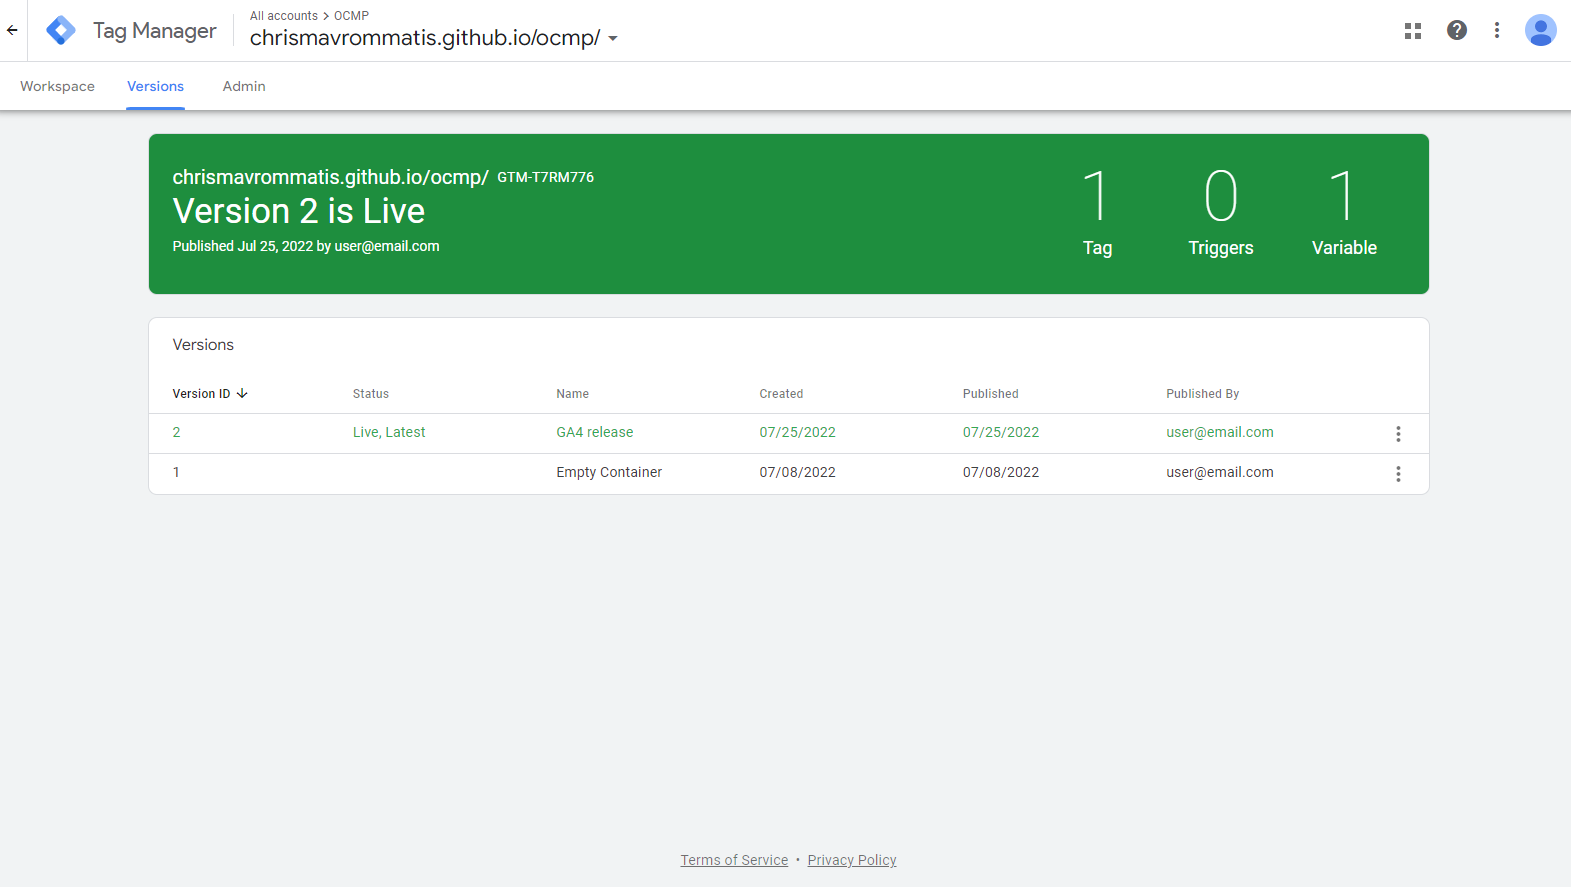
This is where you can inspect all changes, export them, or roll them back. We won’t cover rolling back here as this is an intro.
Next click on Workspace located on the upper left, which is next to Versions. It should bring you to the Workspace/Changes Overview screen
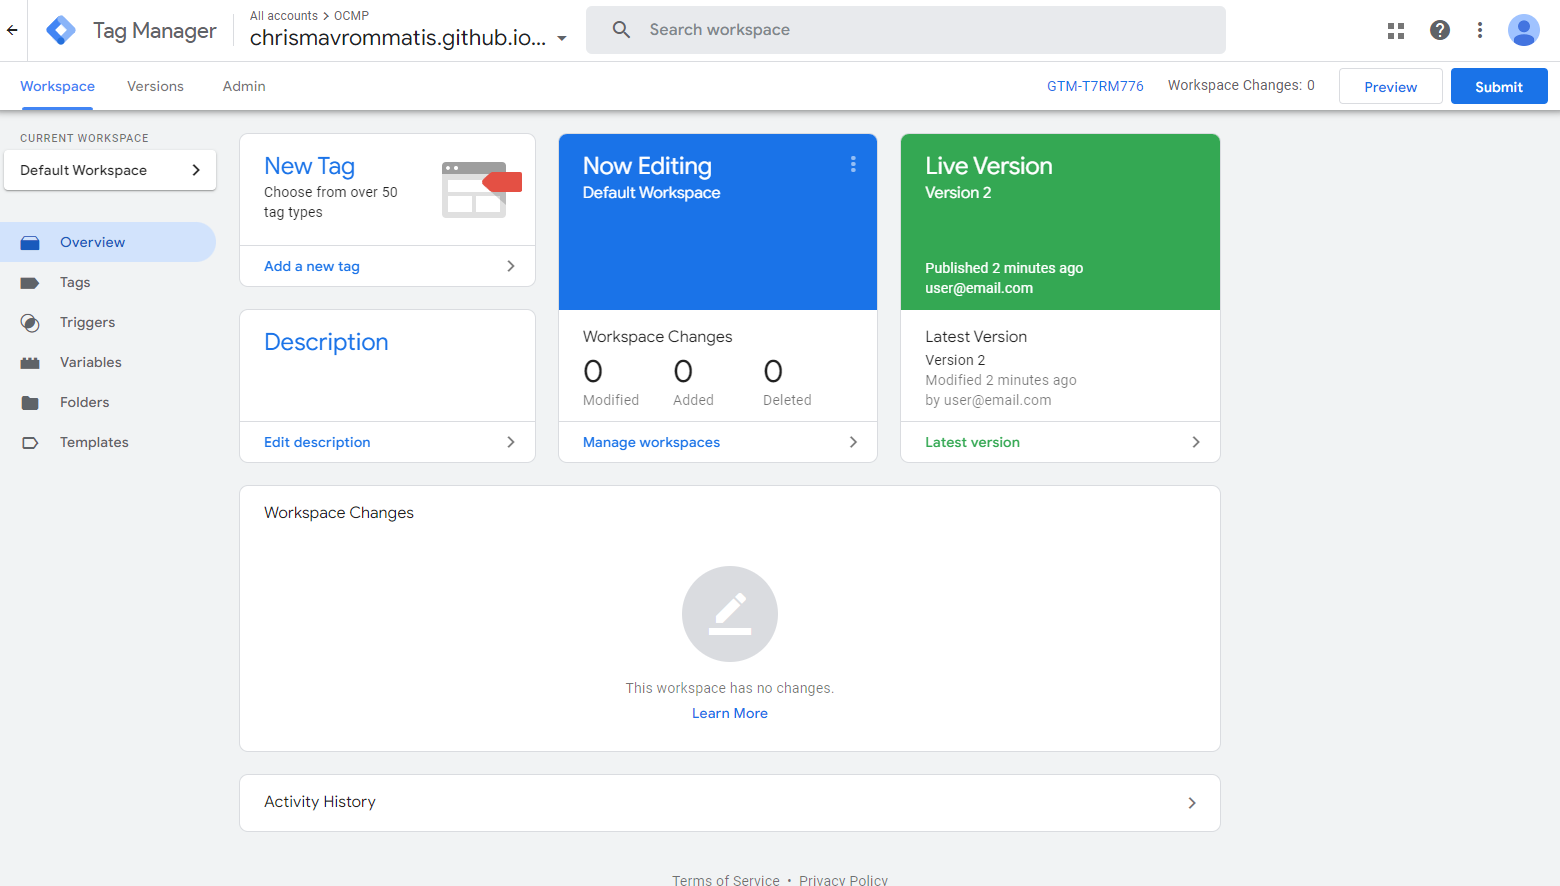
Do note that now on the Green card it shows the version number which is published, who published it and when. Additionally, there are no changes, so the Workspace Changes should be empty.
Your changes have now been published on the site.
Footnotes
-
DOM stands for Document Object Model and the DOM Ready event means that the browser has rendered all the HTML elements and their values can be accessed. However, that doesn’t mean the page has fully loaded. ↩